
First of all, I want to say that this is not my invention. I learned how to do this from a post by Darrel Peart, expert in all things Greene and Greene. I researched two or three different techniques, and found this one to be the easiest and most consistent for me.
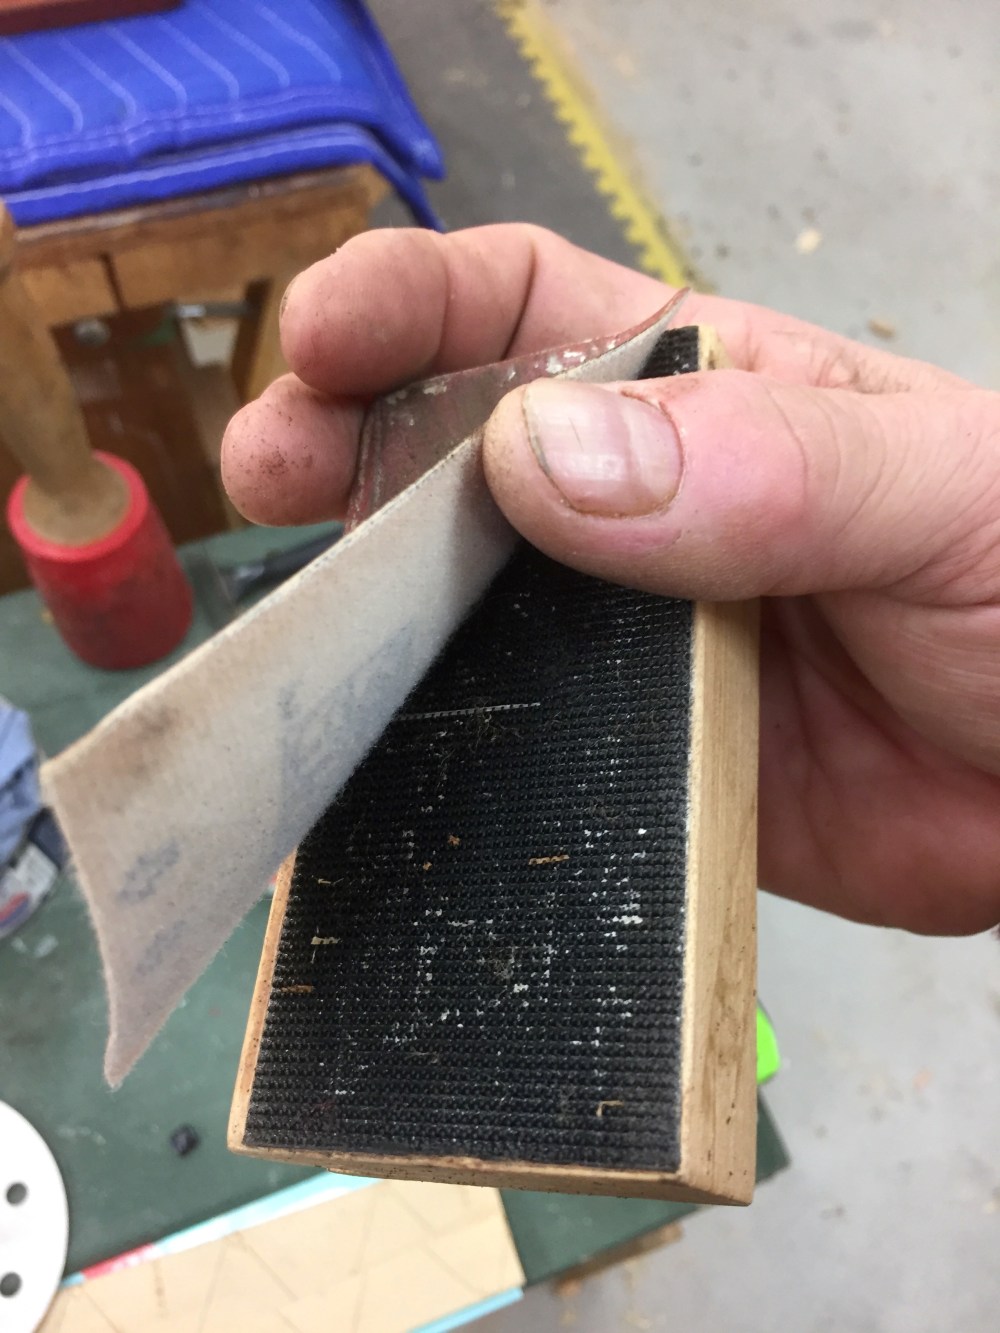
I start with a stick of ebony cut to and interference fit with the socket that it will be mated with, in this case 3/8″ square. I use a series of grits of Abranet™ abrasive (100,120,150,220,400) backed by a 3/16″soft foam pad. In this case, it’s a foam backed polishing pad, but any medium soft foam would do.

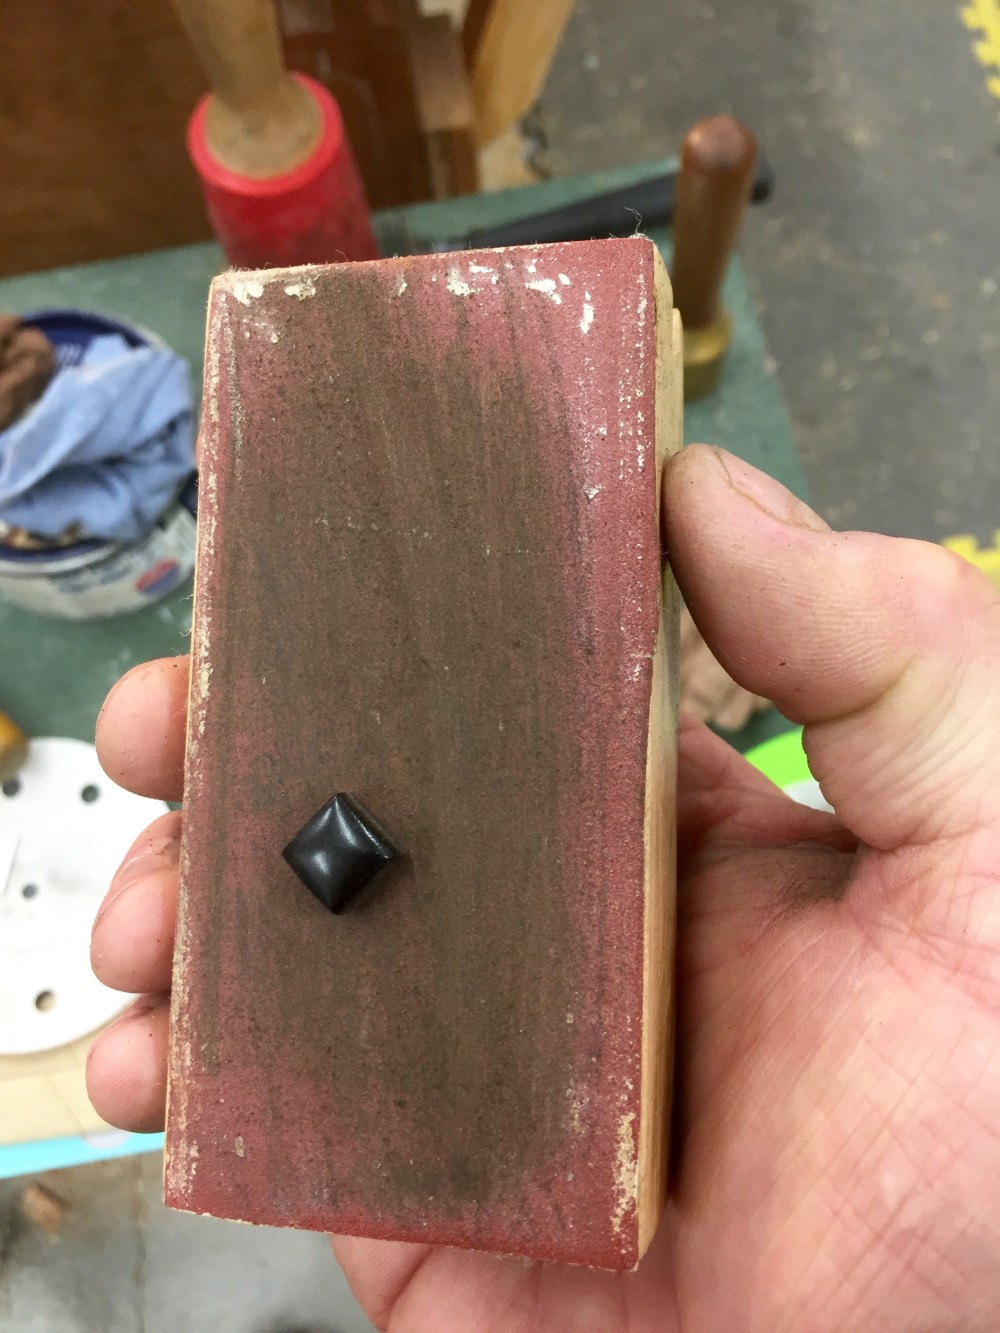
I round the ends of the stick using a pendular stroke against the abrasive, sort of like a stopping motion. Darrel cautions against rounding the end too much if you’re striving for authenticity. I find it a matter of taste.
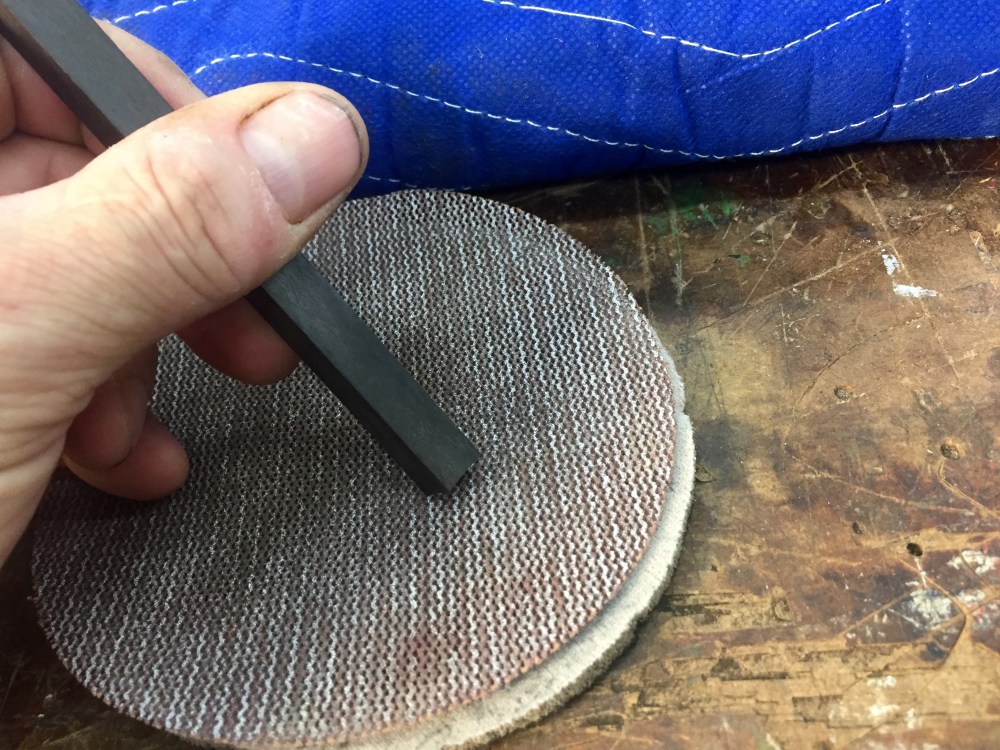
Shaping is done with the 100 grit and takes the most strokes. I do about 6 to 8 strokes and then give the stick a 1/4 turn and repeat, checking for shape at the end of each sequence.

Once the shape is established, it takes only 2 or 3 strokes of each grit to remove the scratches from the last. Ebony is very soft and sands quickly.

After sanding, I give each end a quick swipe against a buffing wheel, again making a 1/4 turn each time.
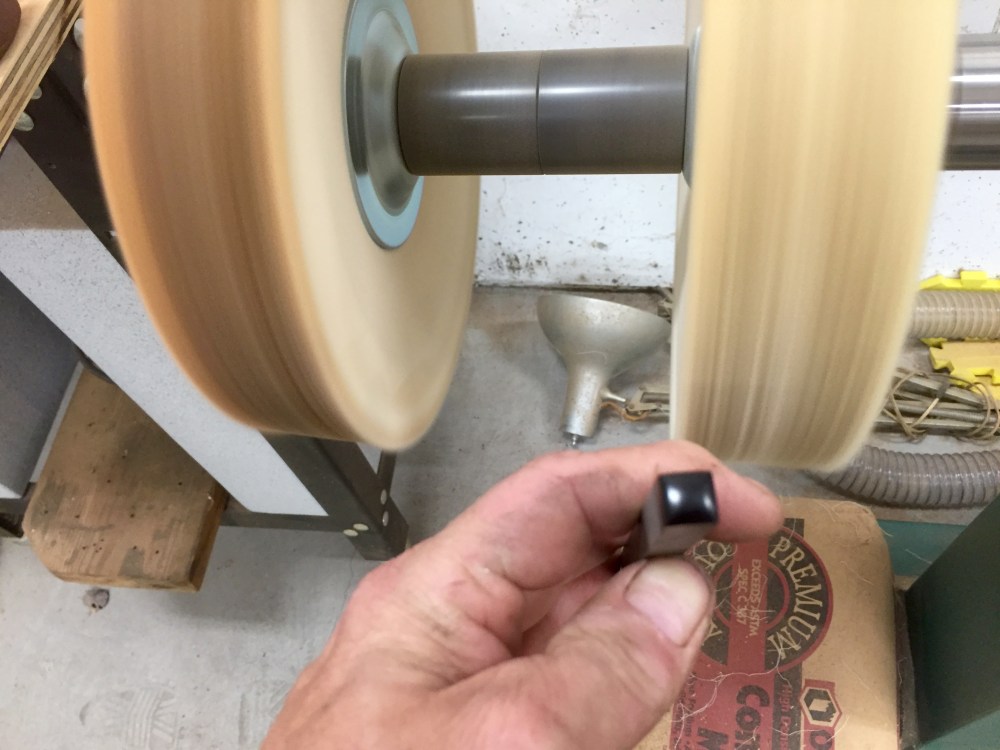
Please forgive the focus of this shot, the iPhone camera focused on my hand and not the end of the stick.

I know that most folks don’t have a dedicated buffing station in their shops, but I would highly recommend it. It is one best finishing devices I have. Given that I like cutting mortises, and I dislike hand buffing, I would easily purchase the buffer over a mortising machine.
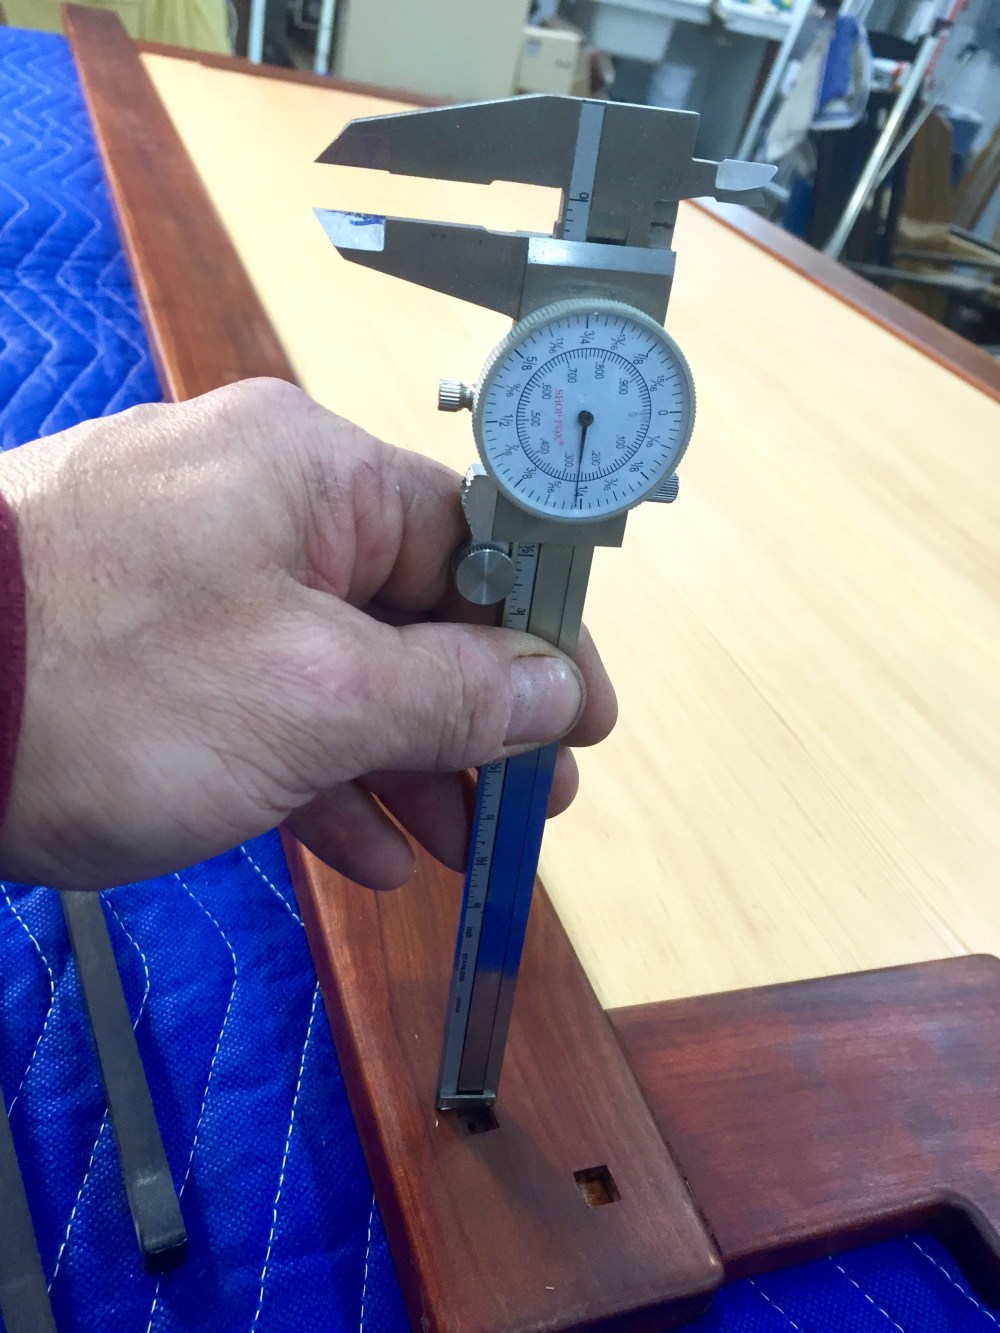
The next step is to determine the proper depth for the plug to fill. I use the a dial caliper, not for the measurement, but as a gauge. I find the depth, lock the gauge, and transfer the depth to the end of the stick.
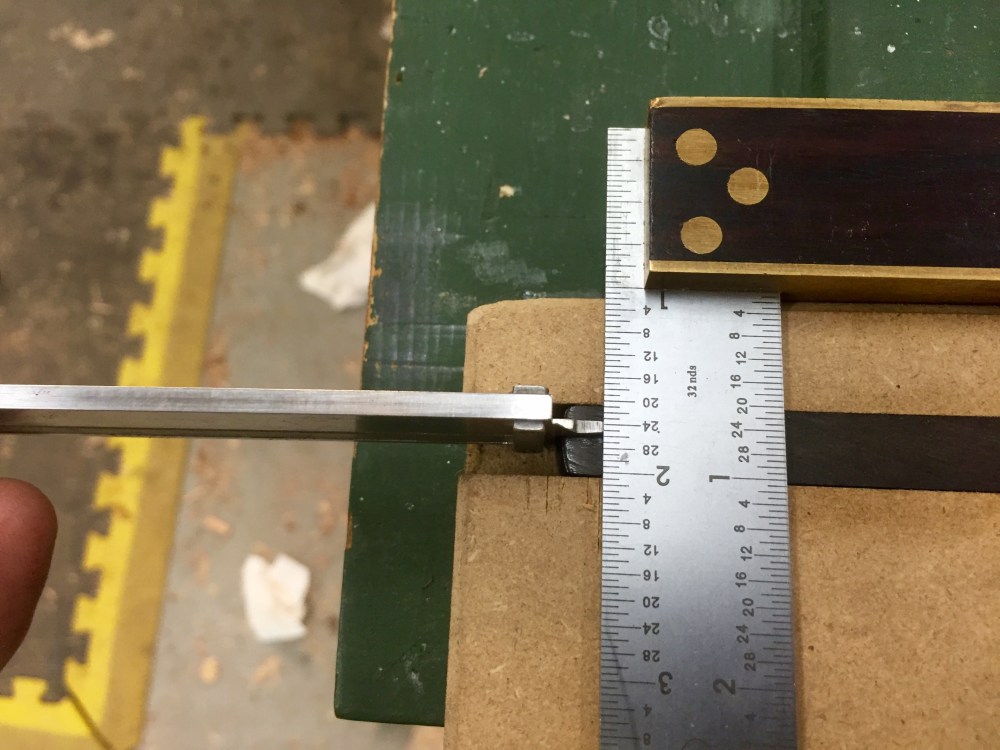
Unfortunately, I don’t have a photo of the small bench hooked miter box that I made for this step. You can see the stick in the miter box here, as I transfer the depth of the socket.
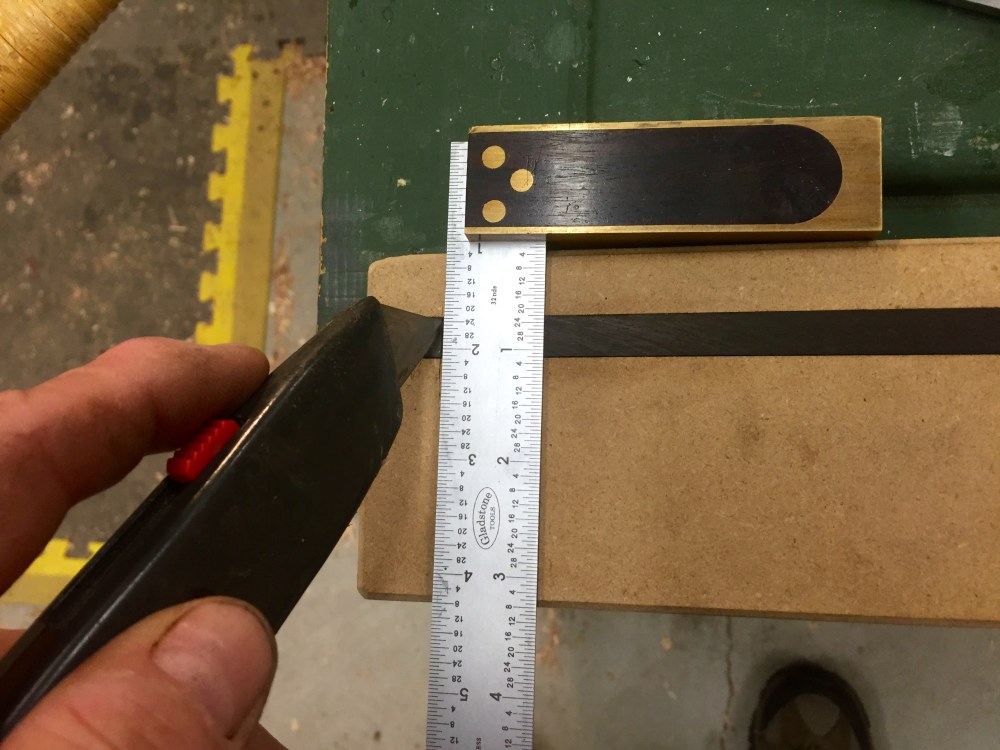
A quick score with a knife and I have a line to cut to. The kerf of the miter box is under the blade of the square. I use a Japanese “Dozuki” back saw to cut the piece.
I chamfer the edges of the plug in order to make it easier to fit into the socket. A few strokes against some 220 grit hook and loop, stuck to a block works well.
I glue the plugs in with liquid hide glue. I really like this stuff, and I preheat it, just as if it was regular hide glue. I use my glue pot as a water bath to keep the bottle warm.
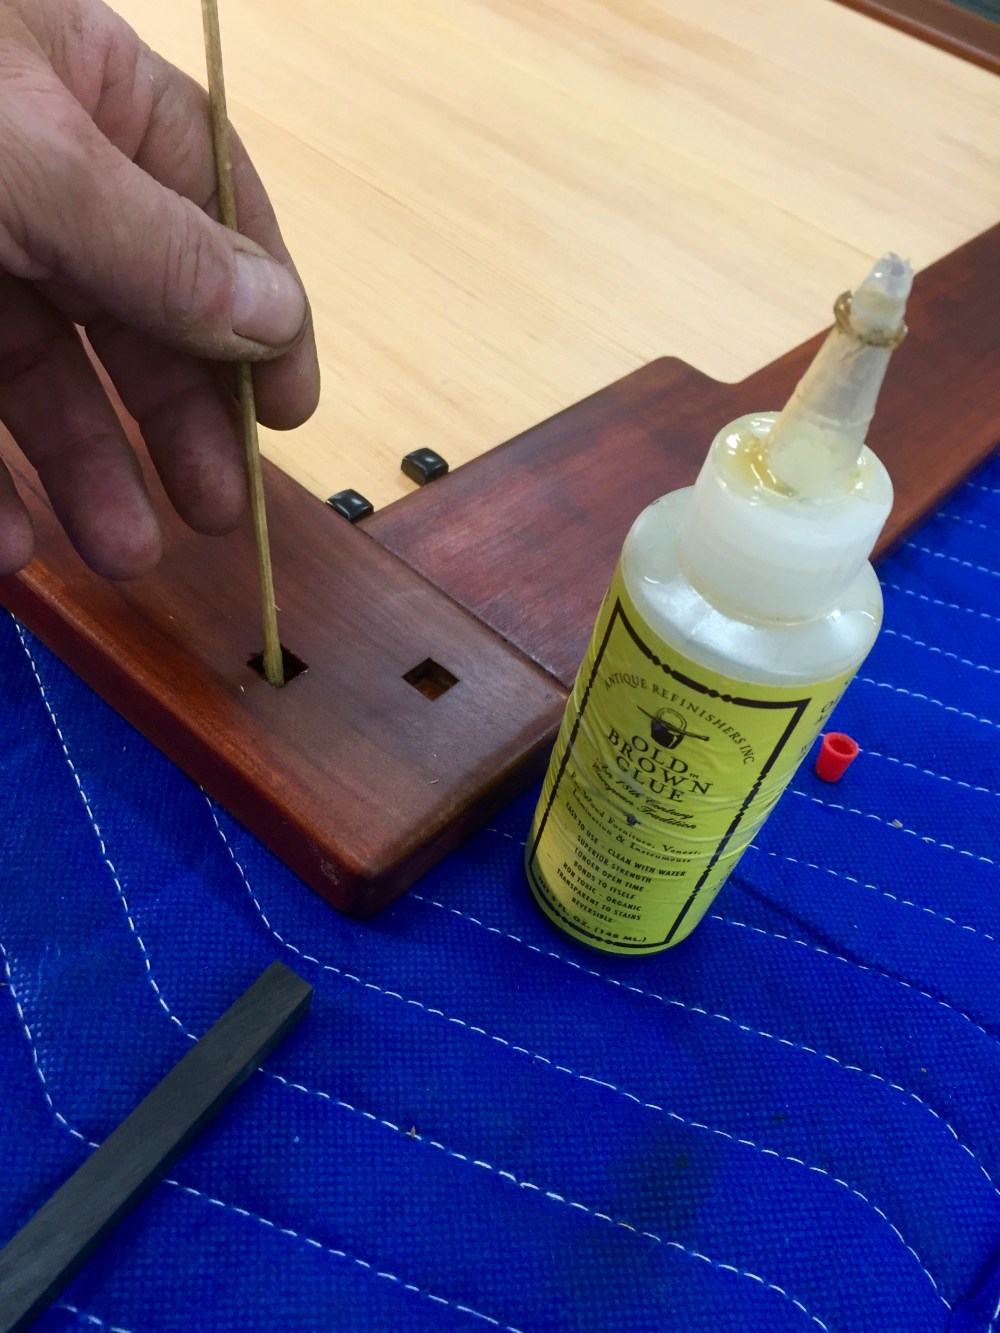
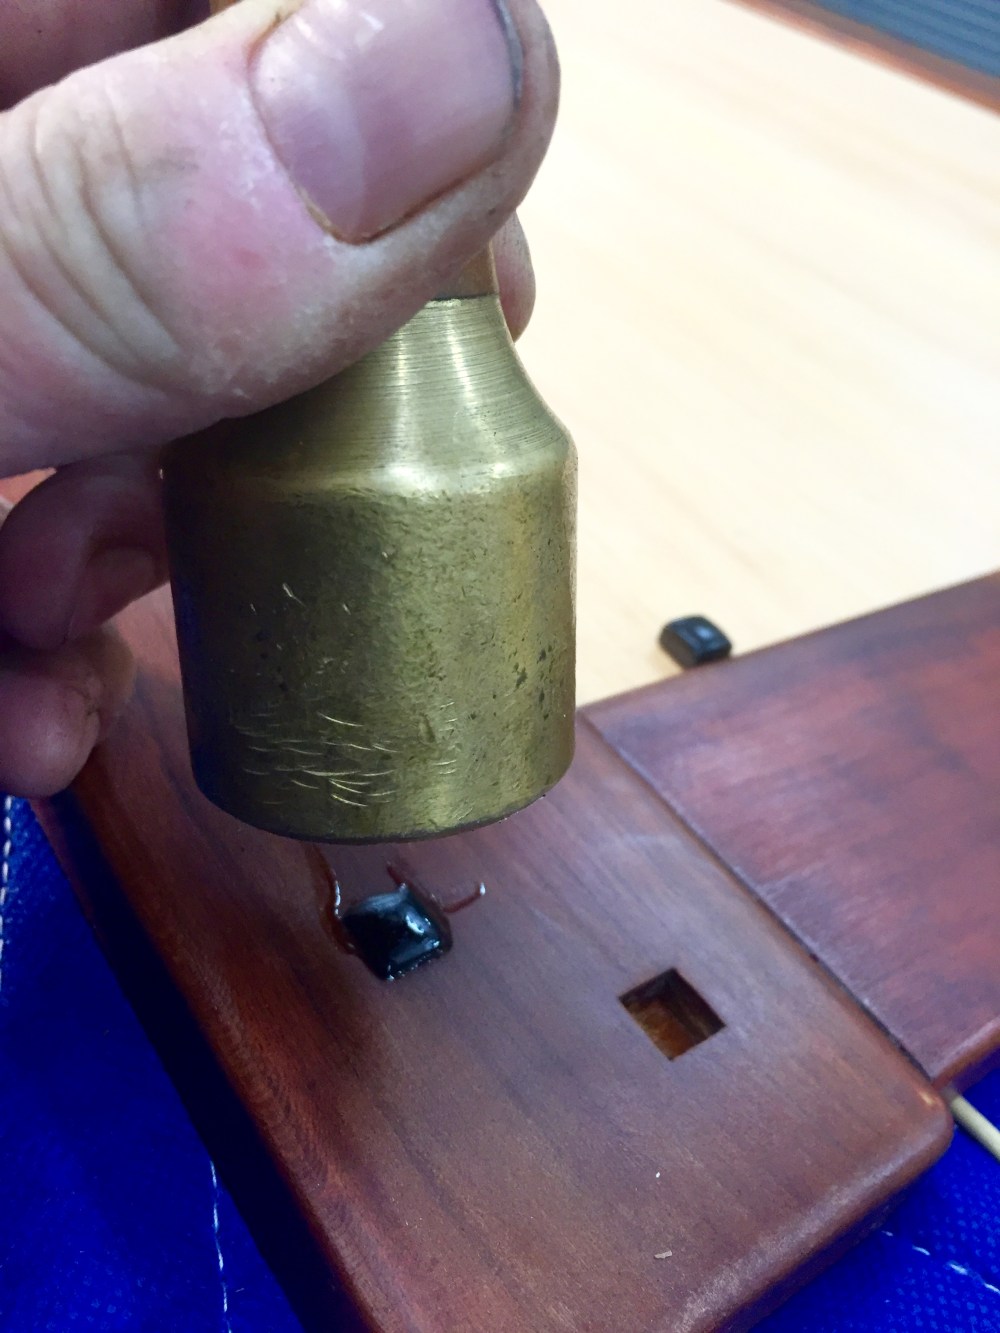
The plugs are driven home with a small brass mallet.
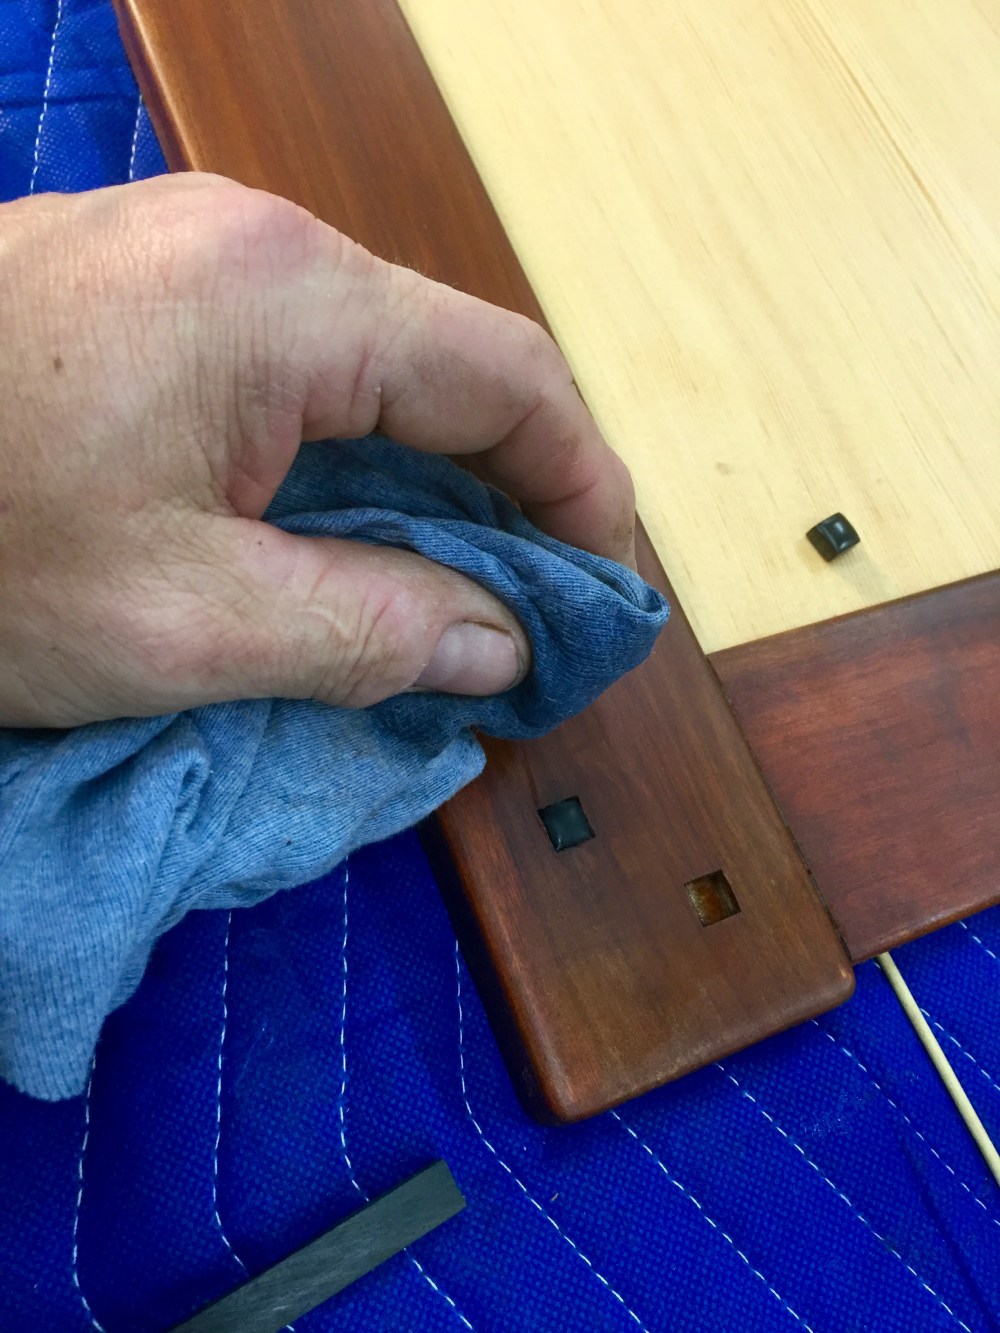
Clean up is a breeze with a rag dipped in the ready supply of warm water that is the glue pot. I finish up with a dry rag.
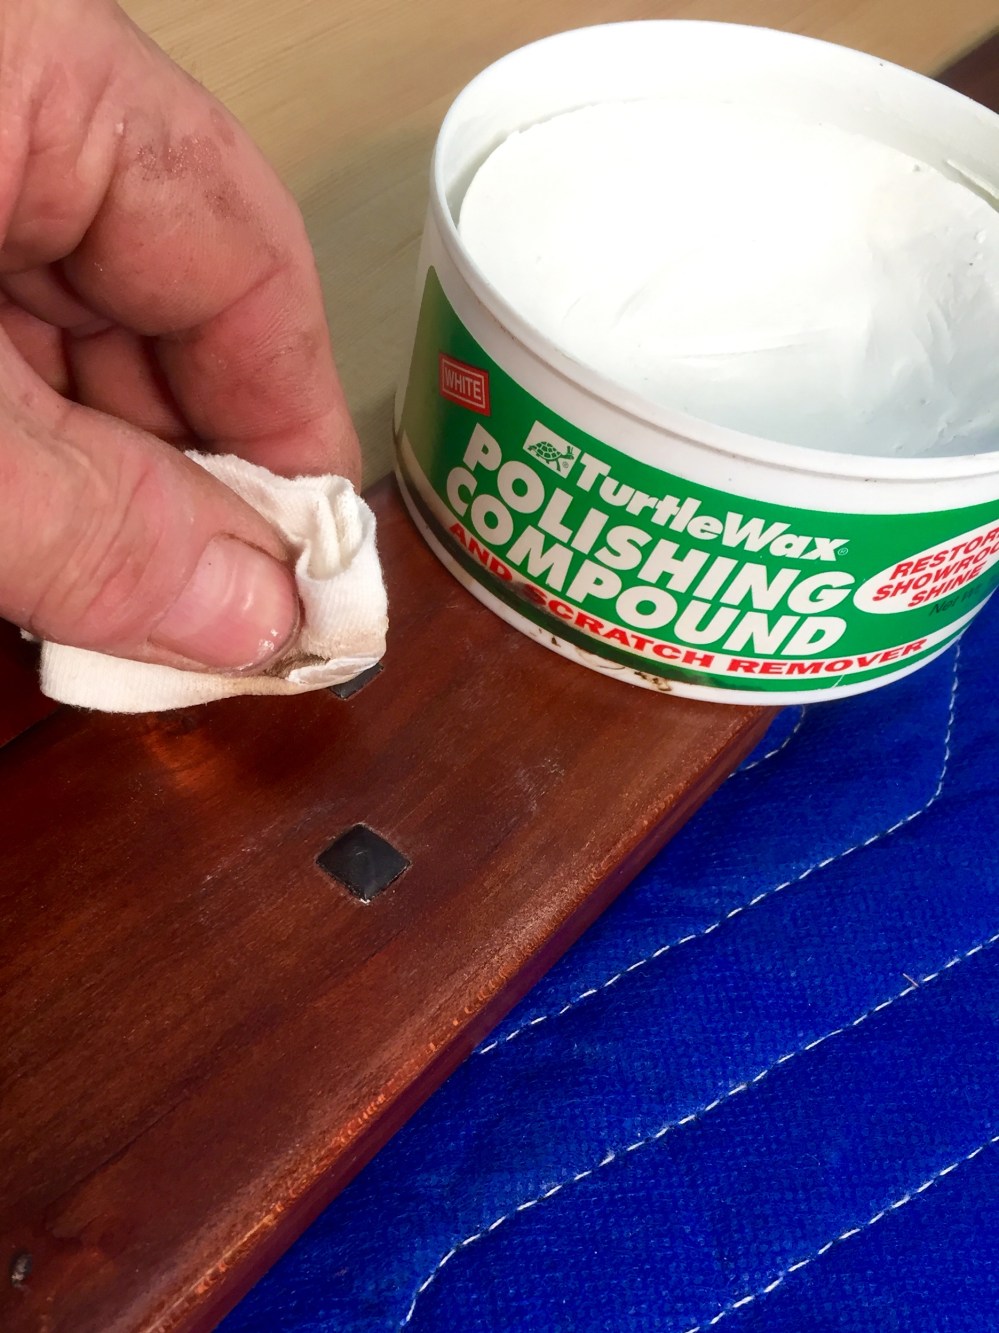
Once the glue has cooled, I use a little polishing compound to clean things up.
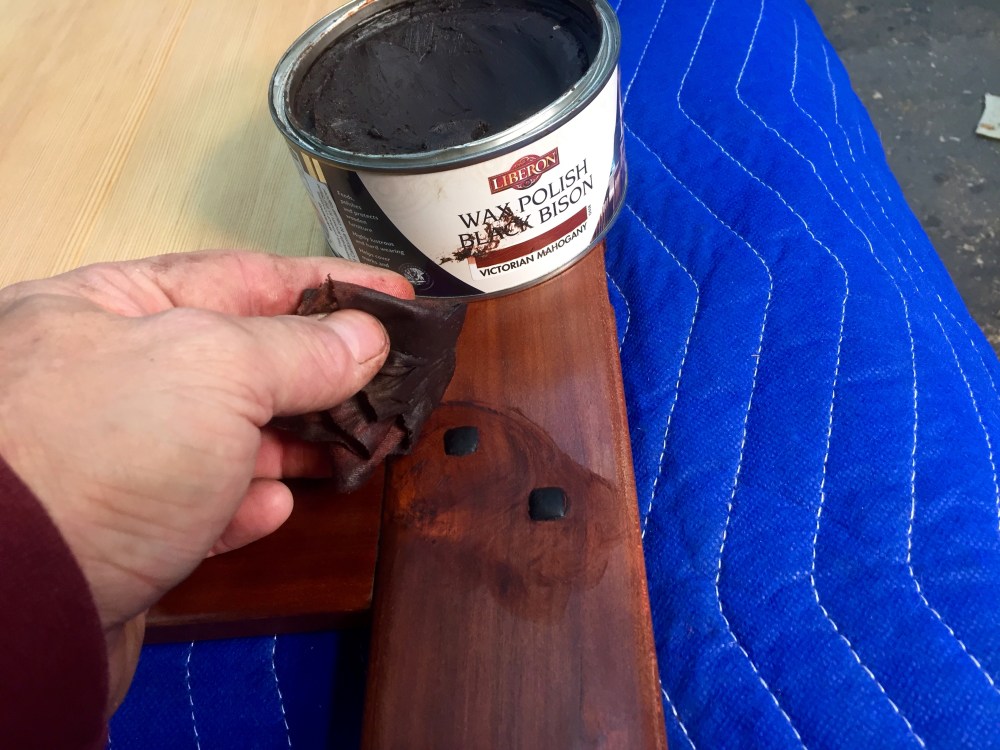
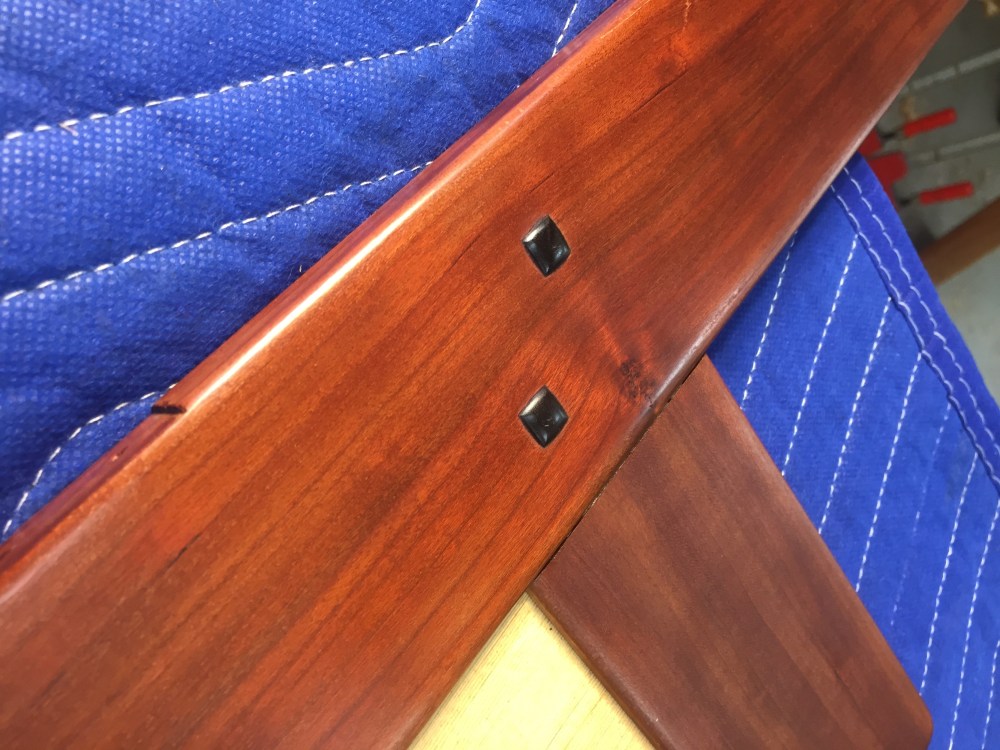
I follow up with some dark wax. I know that I’m applying it pretty heavily here, I want to get it into the crevices around the plug. I’ll spread the excess along the whole piece.
Then it’s on to the next pair.
Cheers,
Tom
