Okay,
So this is a total non sequitur to the topics that I’ve recently addressed, but I build rocking chairs, and friends have asked me why I haven’t put a picture of a rocking chair on the blog. I guess the reason is that I built rockers before I started blogging, so it’s not come up as a current topic.
To remedy this, here are a few pictures of the rocker that I built for my wife, Kris.
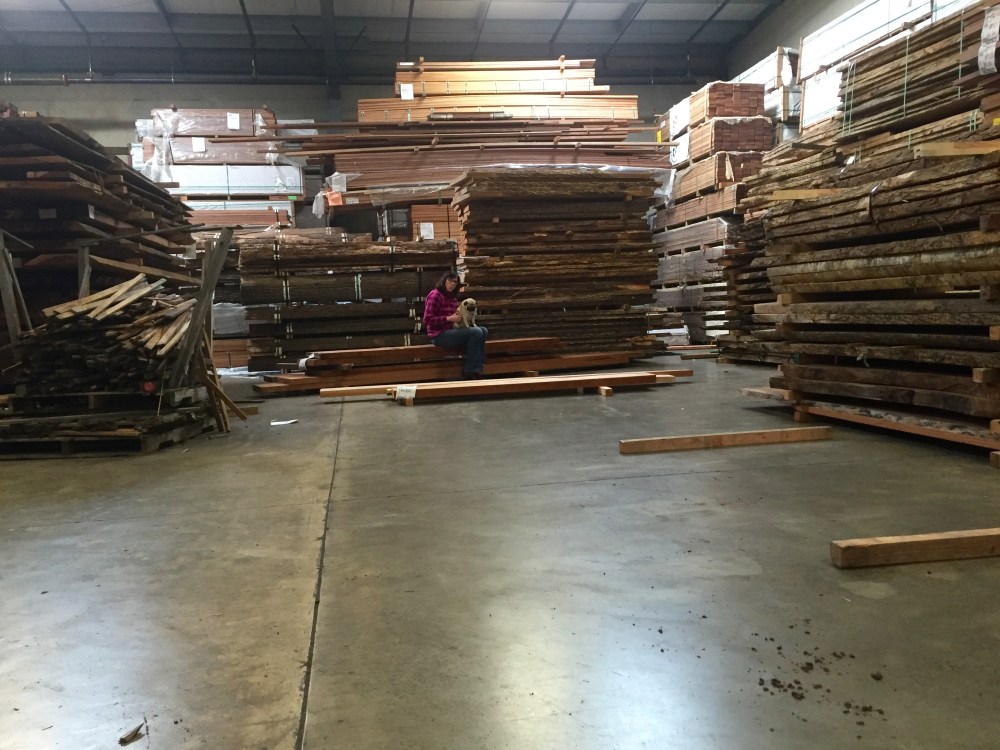
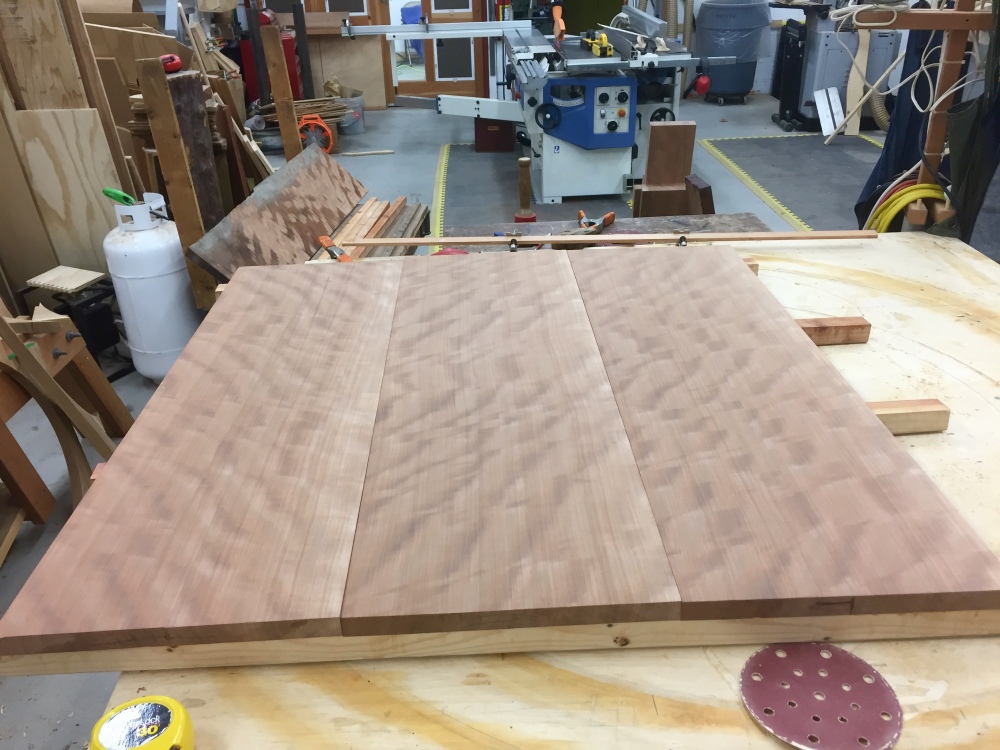
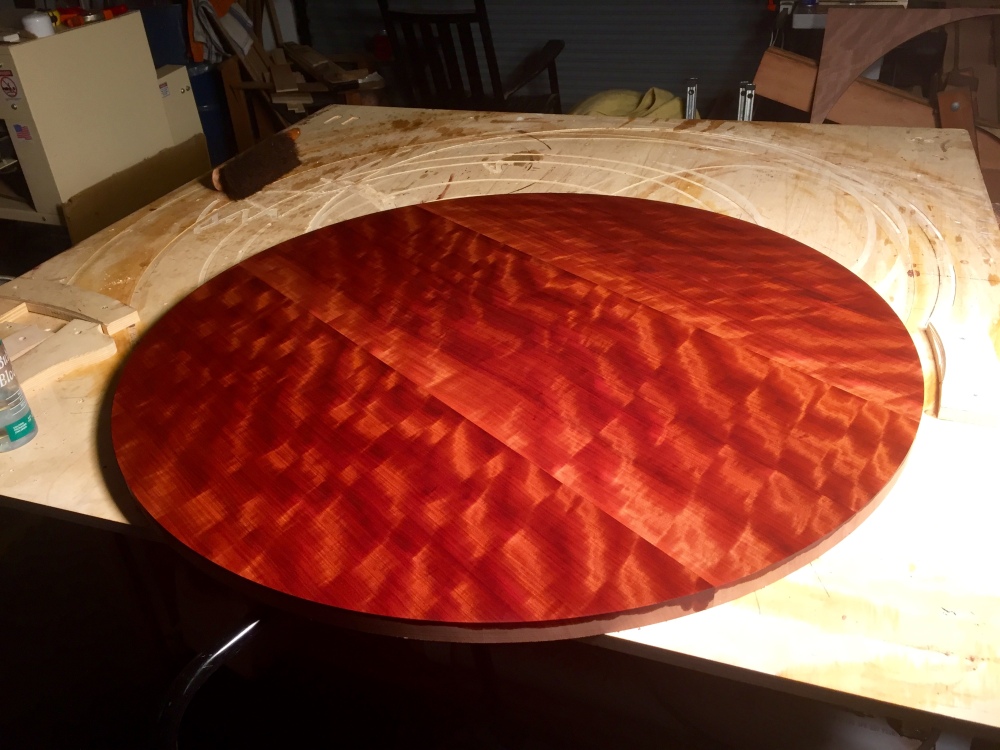
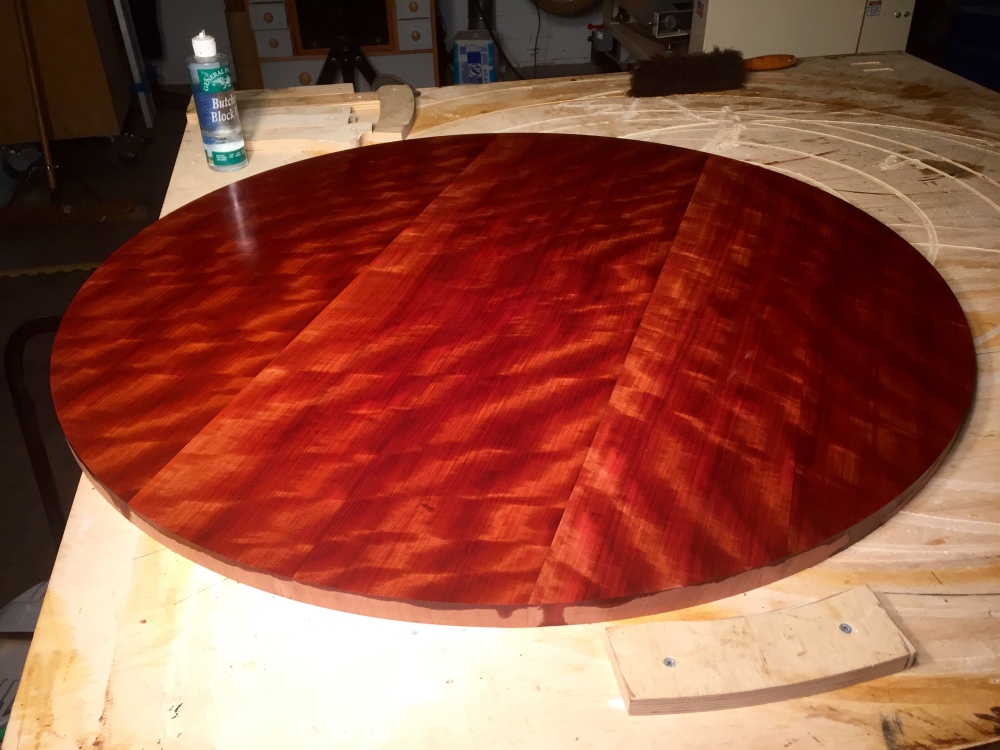
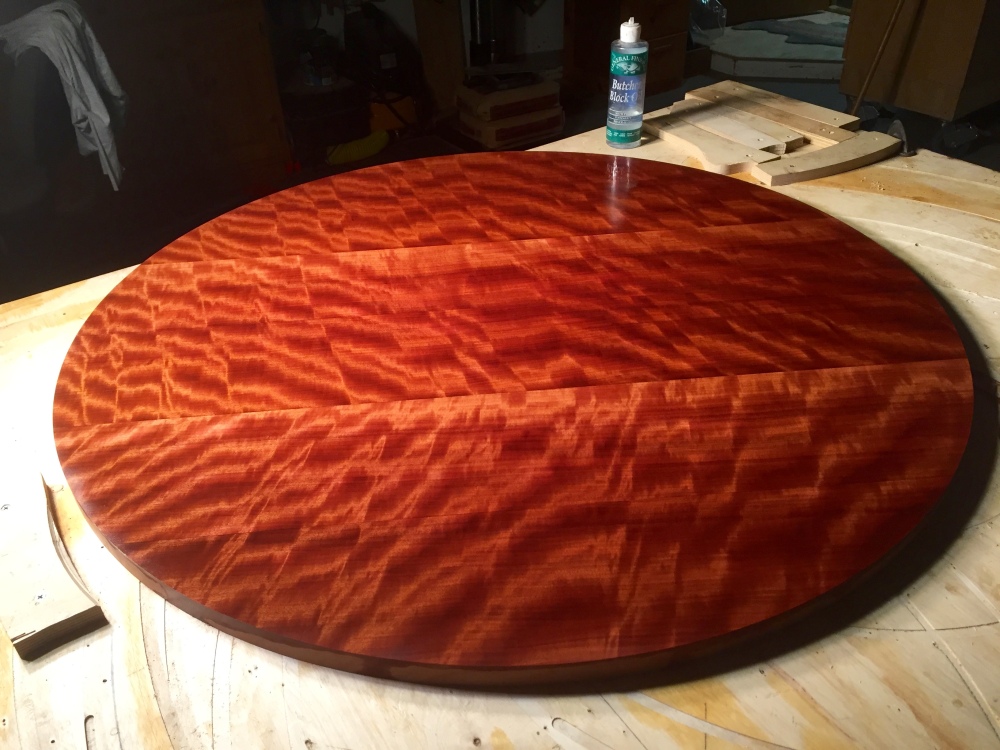
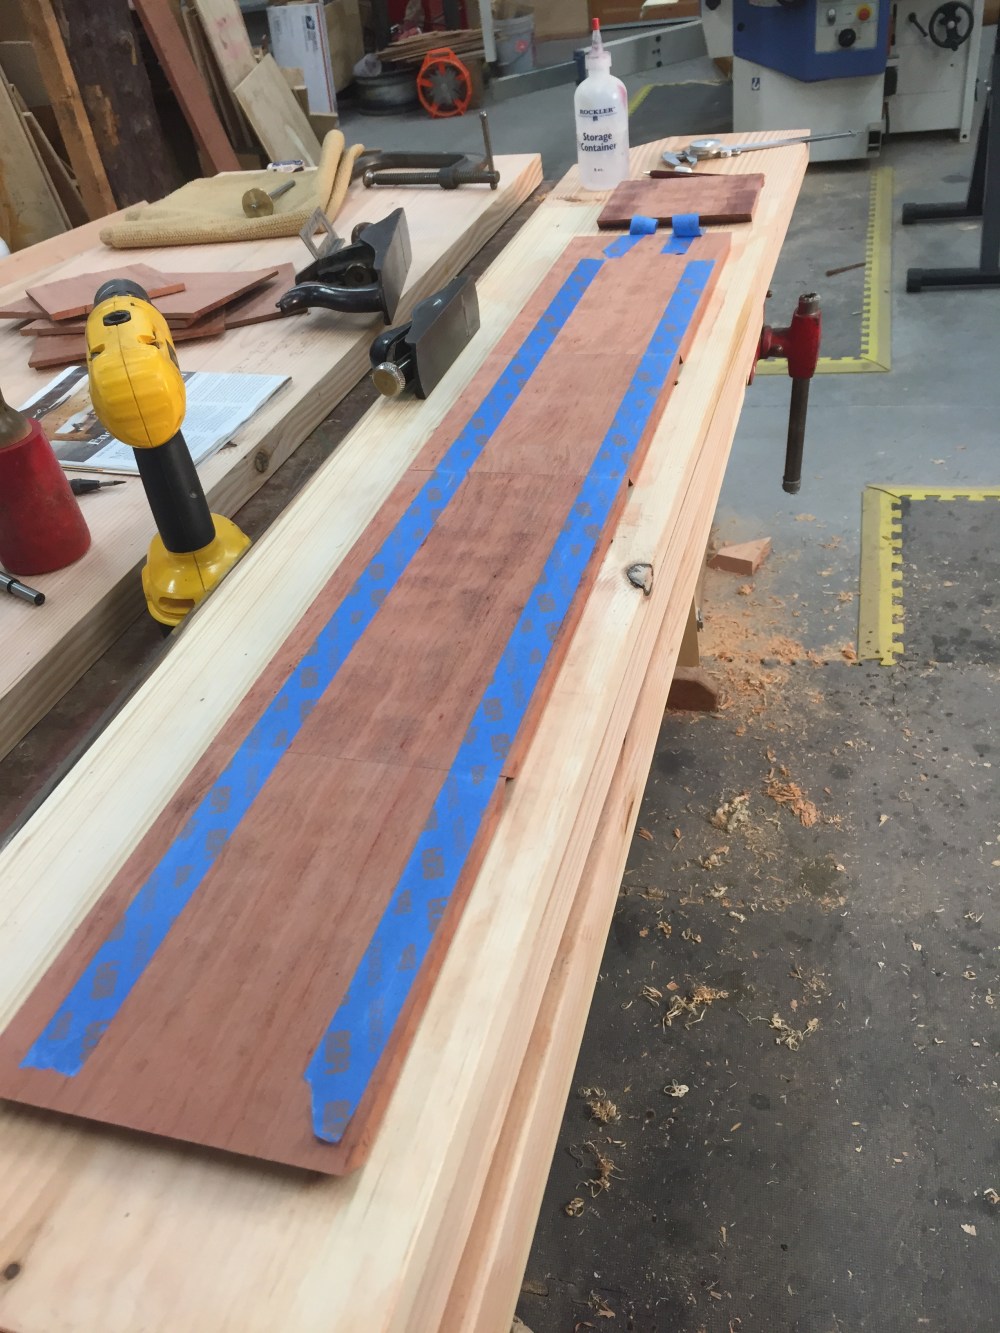
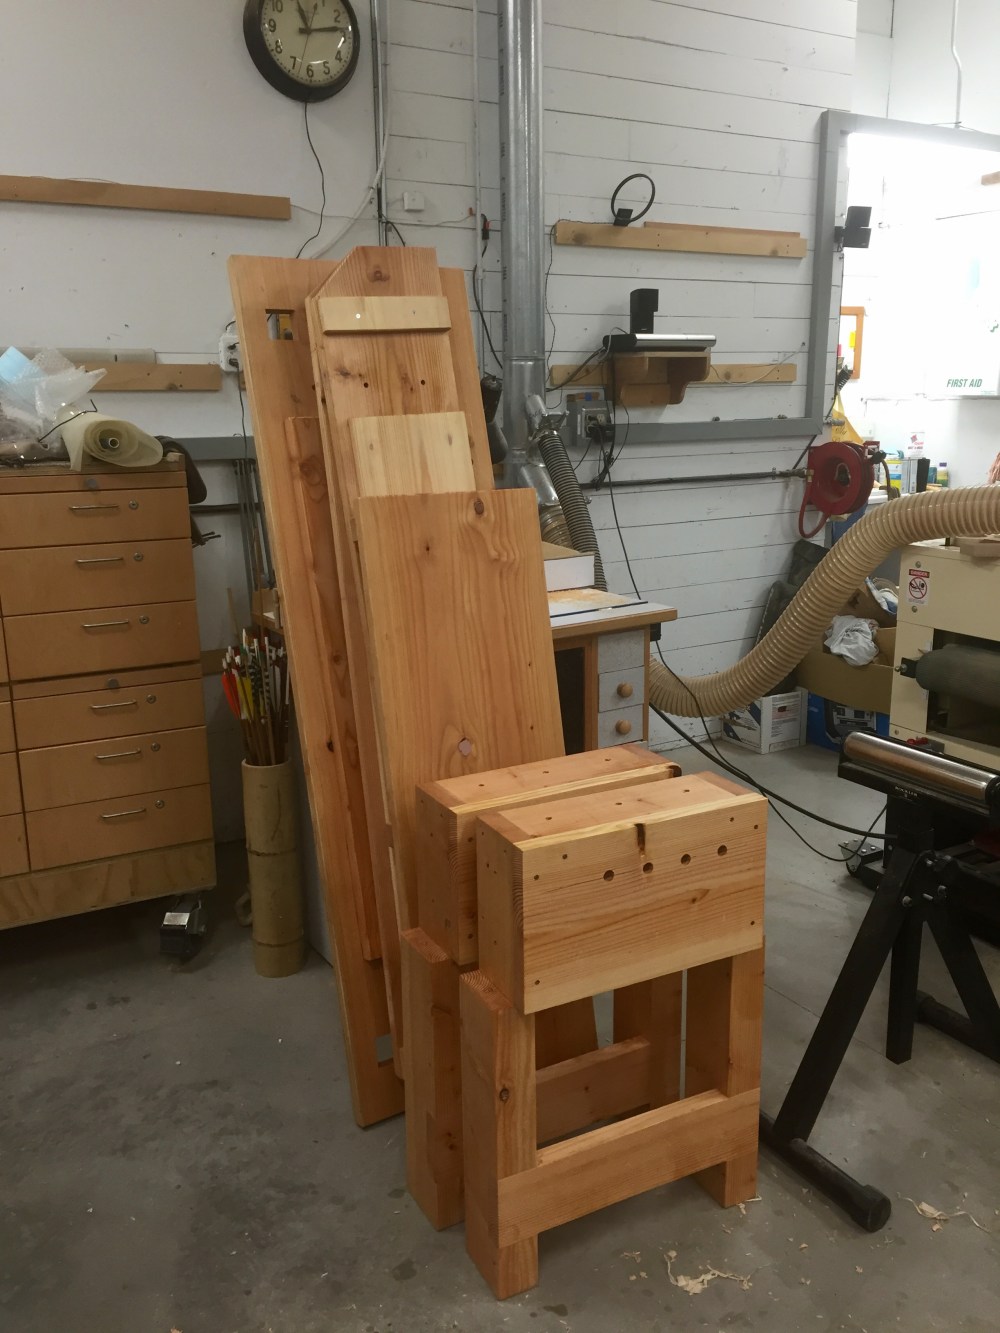
First, you have to find the right piece of lumber. It takes about 40 board feet of wood to make a rocker, in this case bubinga from Africa.

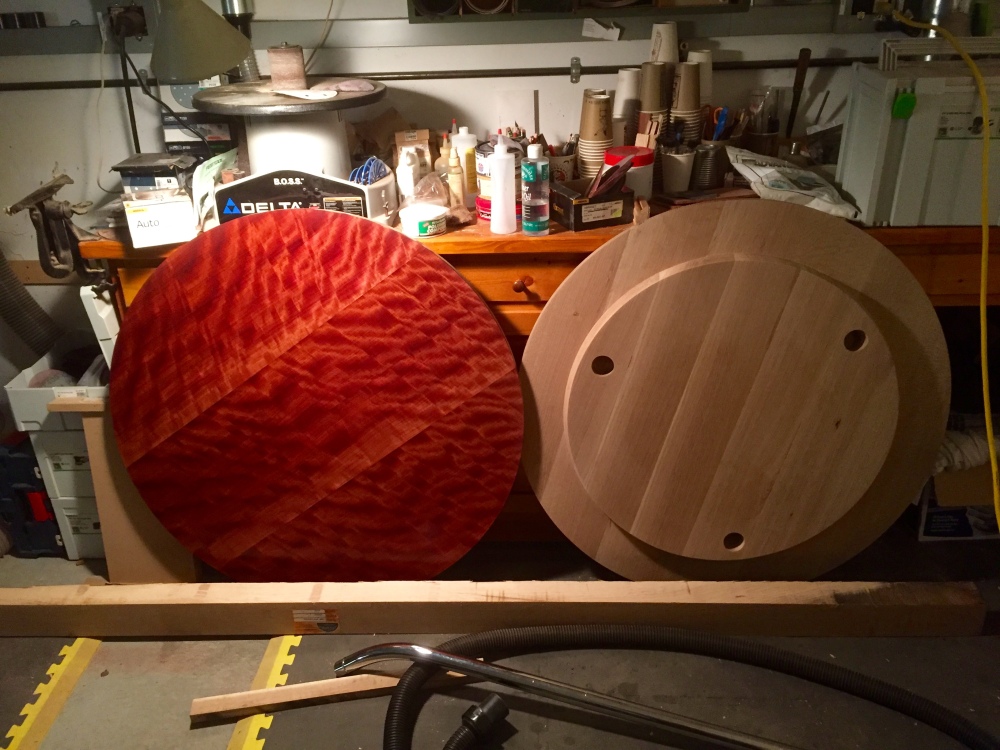
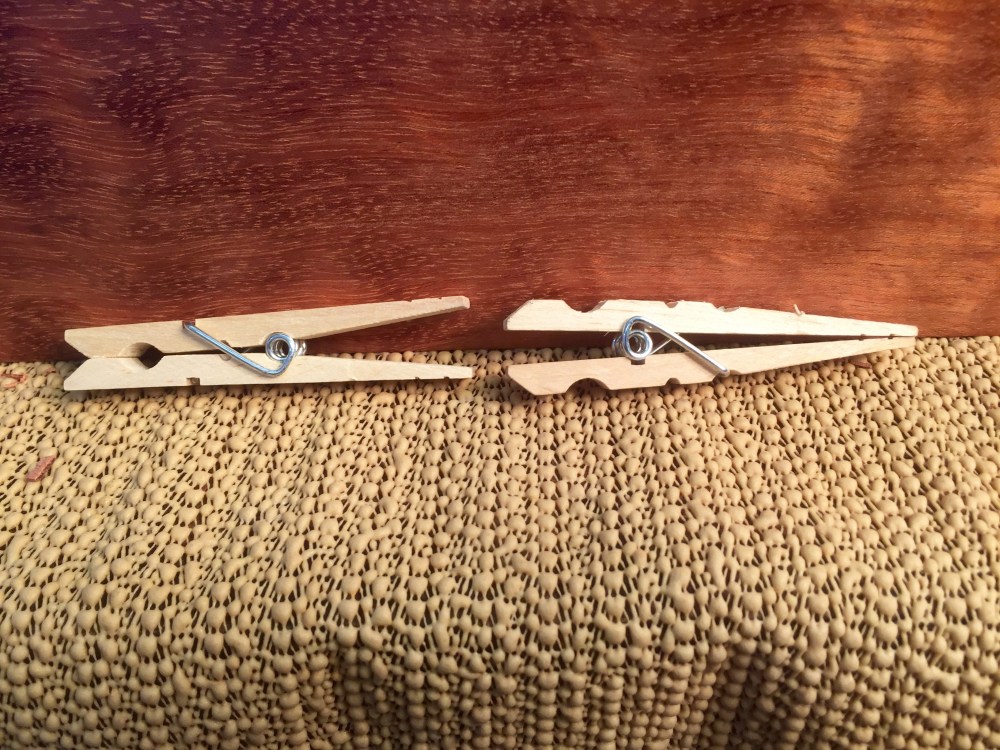
Despite Peggy Tzu’s apparent preference for the piece on the right, I chose the one on the left.
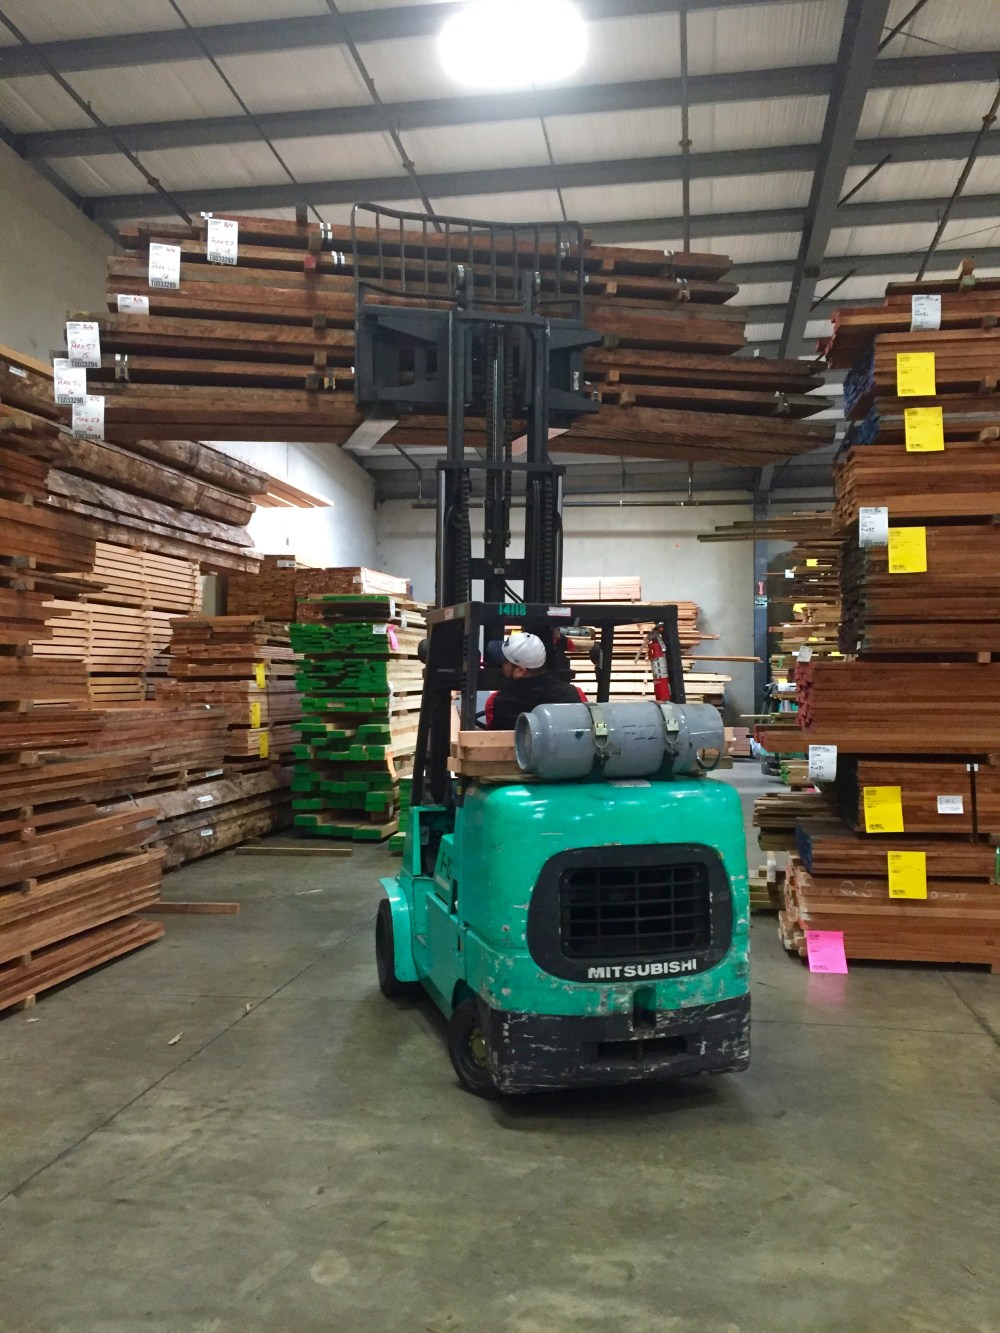
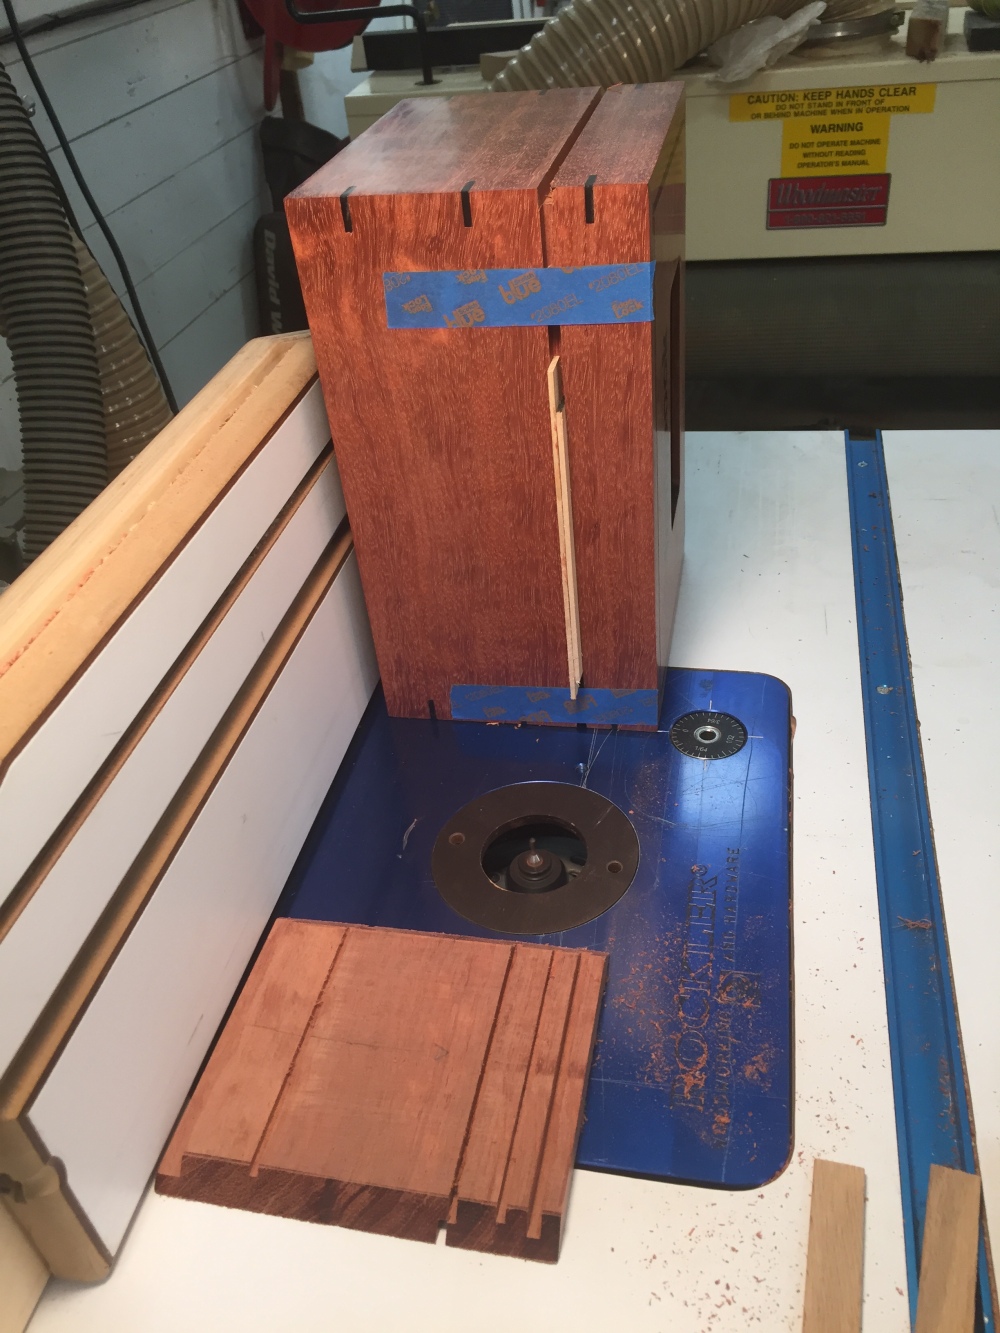
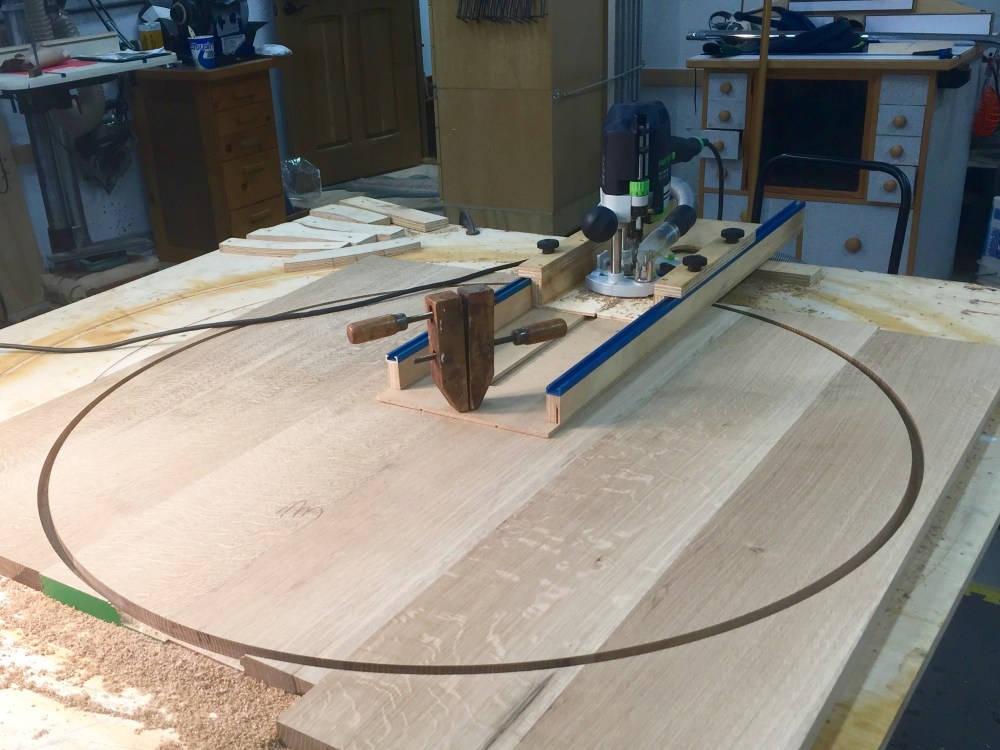
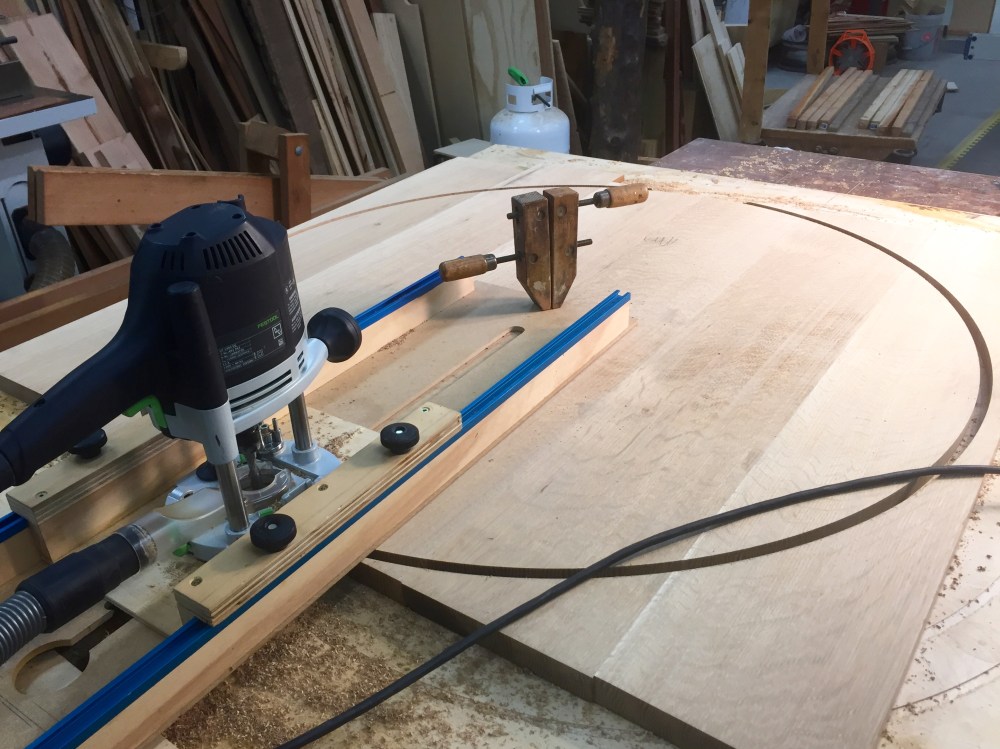
When I made my first chair, with my instructor, we did it in less than five days. But of course his shop is dedicated to making chairs. He had multiple router stations, each with a different bit set to the correct depth of cut, and multiple sanders each with a different grit of abrasive. So, no changing of bits, or grits; plus a number of other time saving set-ups that most shops (including mine) don’t have. Add to that, the time it took to construct all the necessary jigs and fixtures, and I have a good excuse for taking six months to finish my first solo effort. Right?

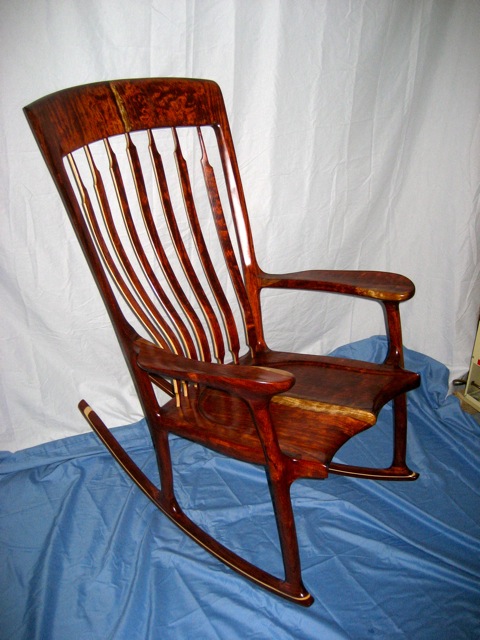
After a number of months, the finished product.
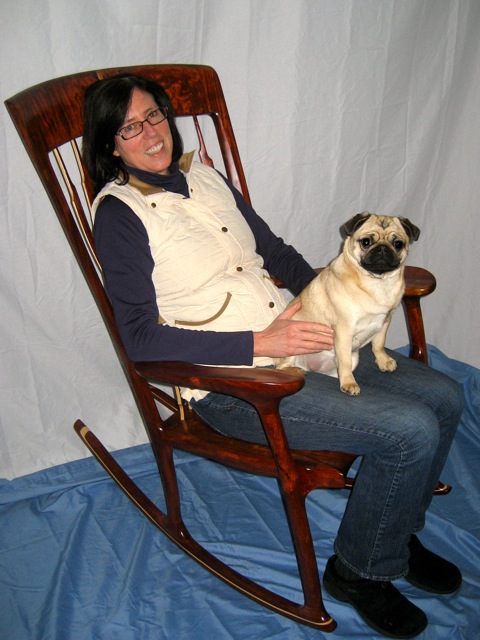
It’s always nice to have a satisfied customer, even better when there are two!
I shouldn’t have to say it, but this one’s not for sale. If you would like one, stop by the shop for a fitting. They come in three standard sizes, and can be customized to suit.
Cheers,
Tom

 I sold the two Roorkhee chairs yesterday to this charming young lady, her dad, and her very large, and very friendly great dane. Peggy Tzu sought refuge from the playful pouncing of the great dane where she could, and our young friend enjoyed having a lap dog for a while.