Hey Folks,
Occasionally, I like to do a project for the shop, instead of from the shop. This one is for the shop.
If you’ve followed this blog, you know that I heat the front room of the shop with a wood burning stove. All that firewood is trucked into the shop via cardboard boxes and a hand truck . I’ve never liked the cardboard boxes, they’re shabby, and not befitting a wood shop.

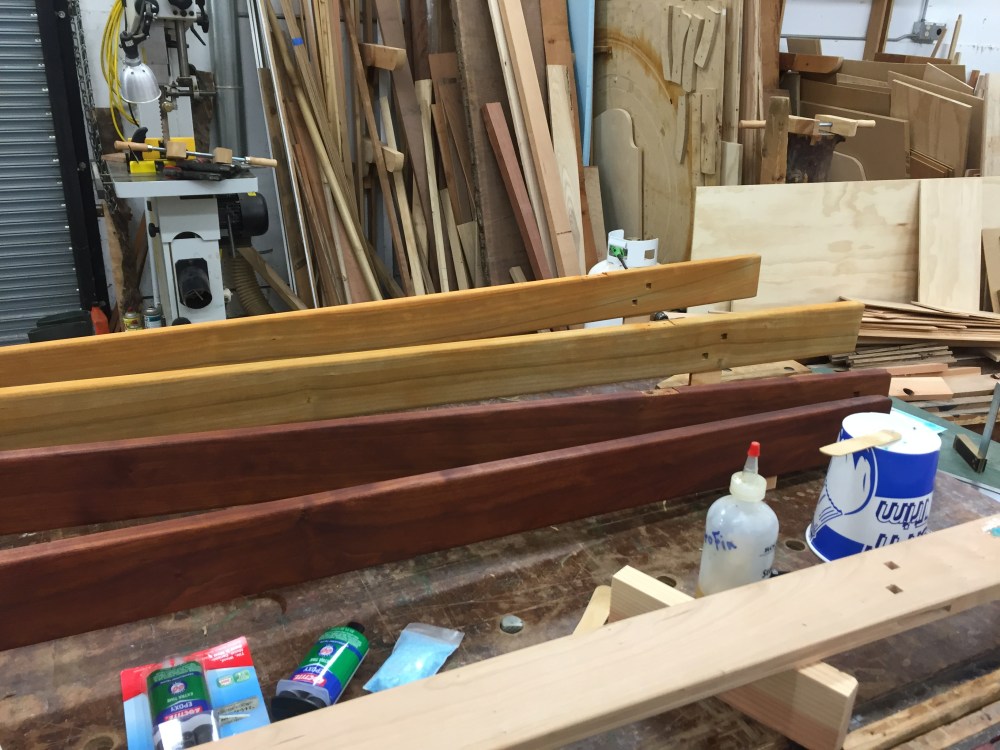
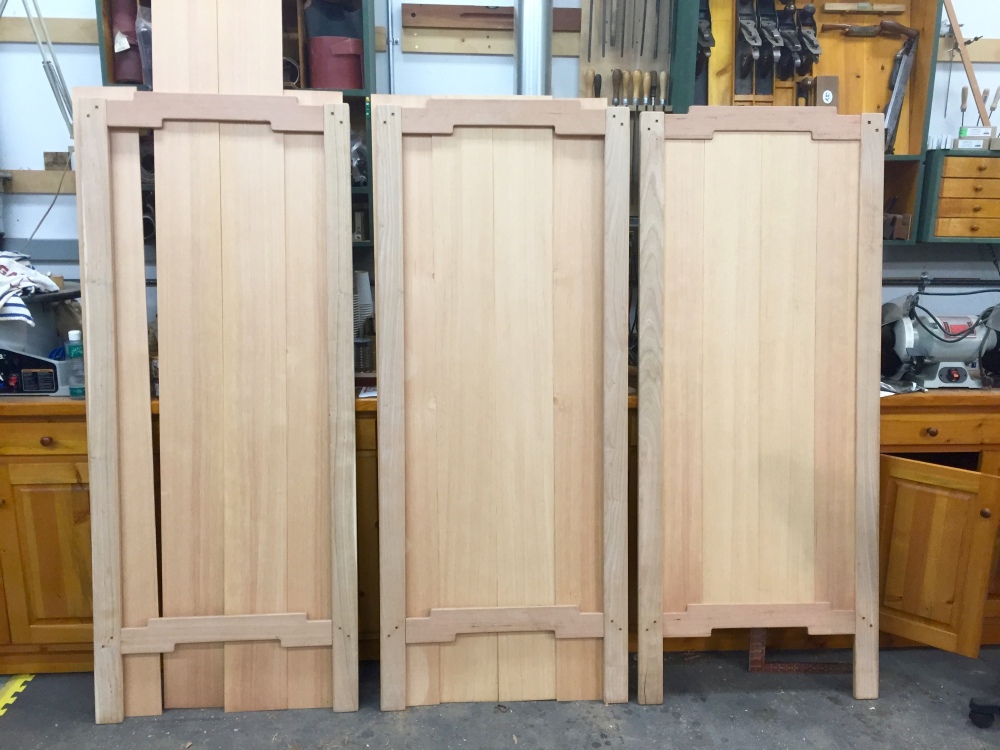
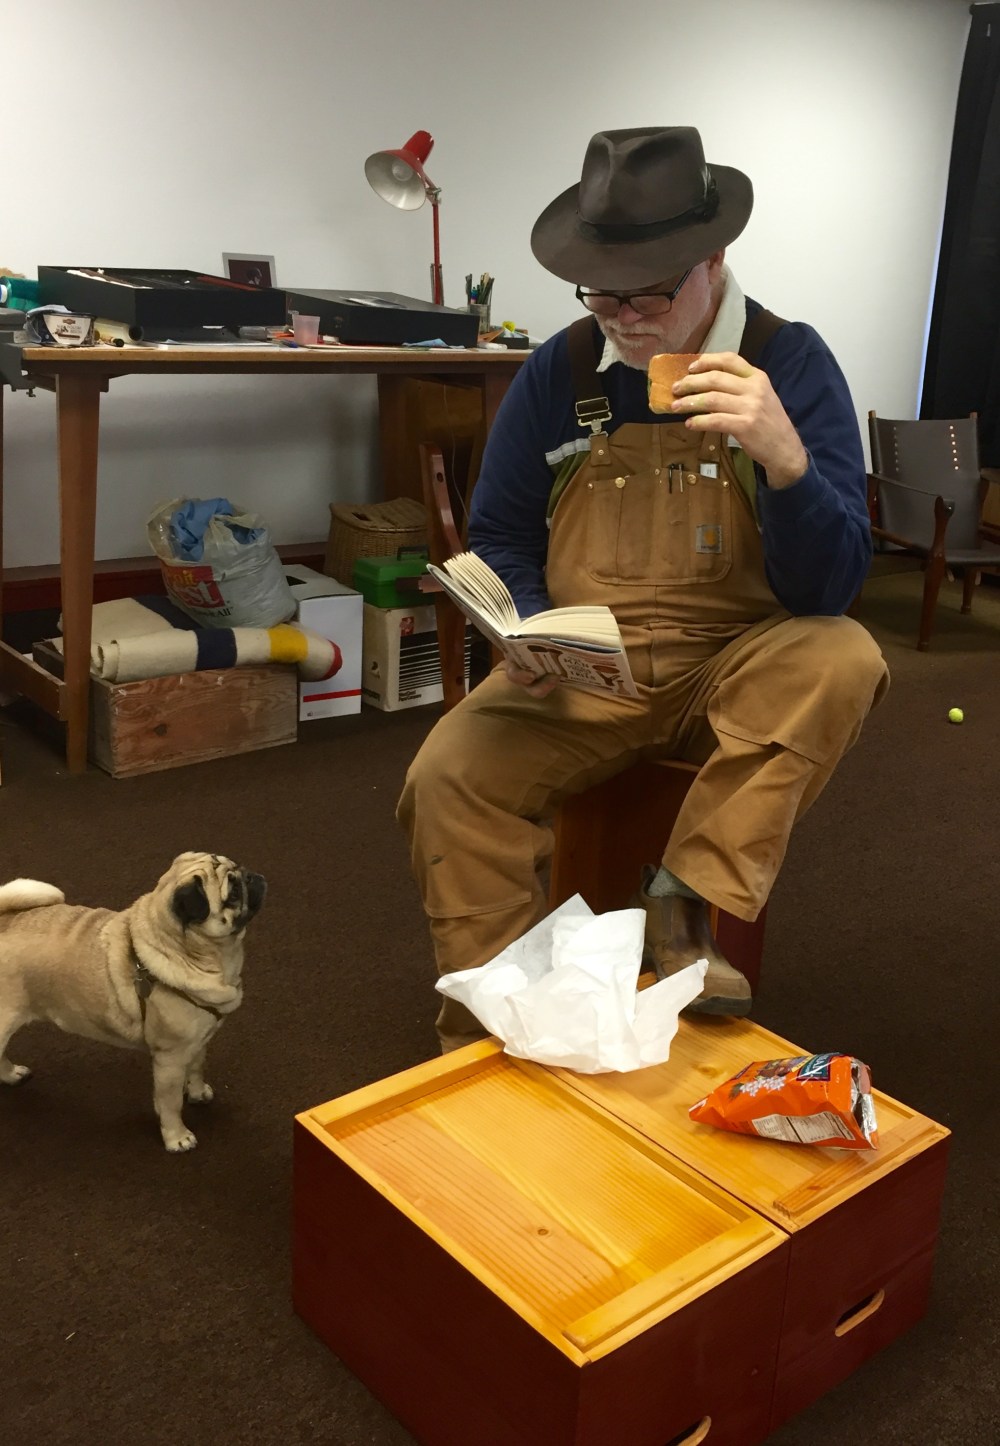
So, I decided to make some wooden boxes to carry firewood, and catch offcuts. In the process, I thought of something else that the boxes could replace… the ubiquitous five gallon plastic bucket. Everyone has, at sometime, used an up turned five gallon bucket as an erstwhile step stool. The trouble is, they’re not that stable, and often not tall enough. I designed the boxes to socket together using a pair of bottom cleats. That way, the boxes could be stacked and safely moved or stepped upon.


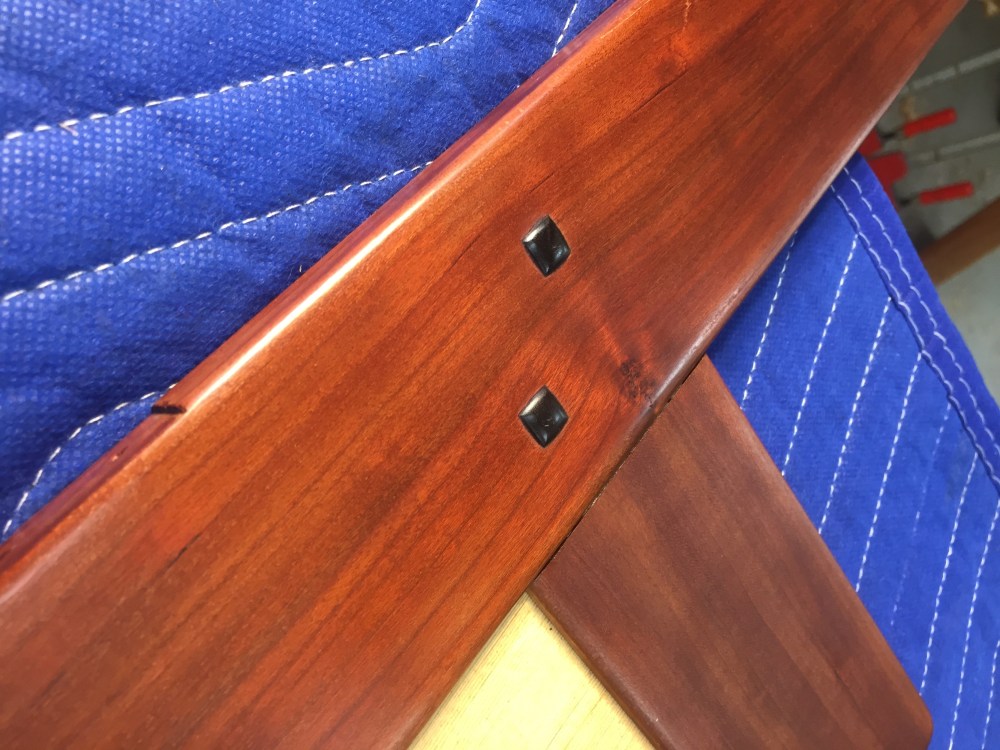
I decided on finger holes instead of handles, so that the boxes could be turned on end. They are sized just right to be used as saw benches, or shop stools. The finish is just milk paint and orange shellac.


Cheers,
Tom