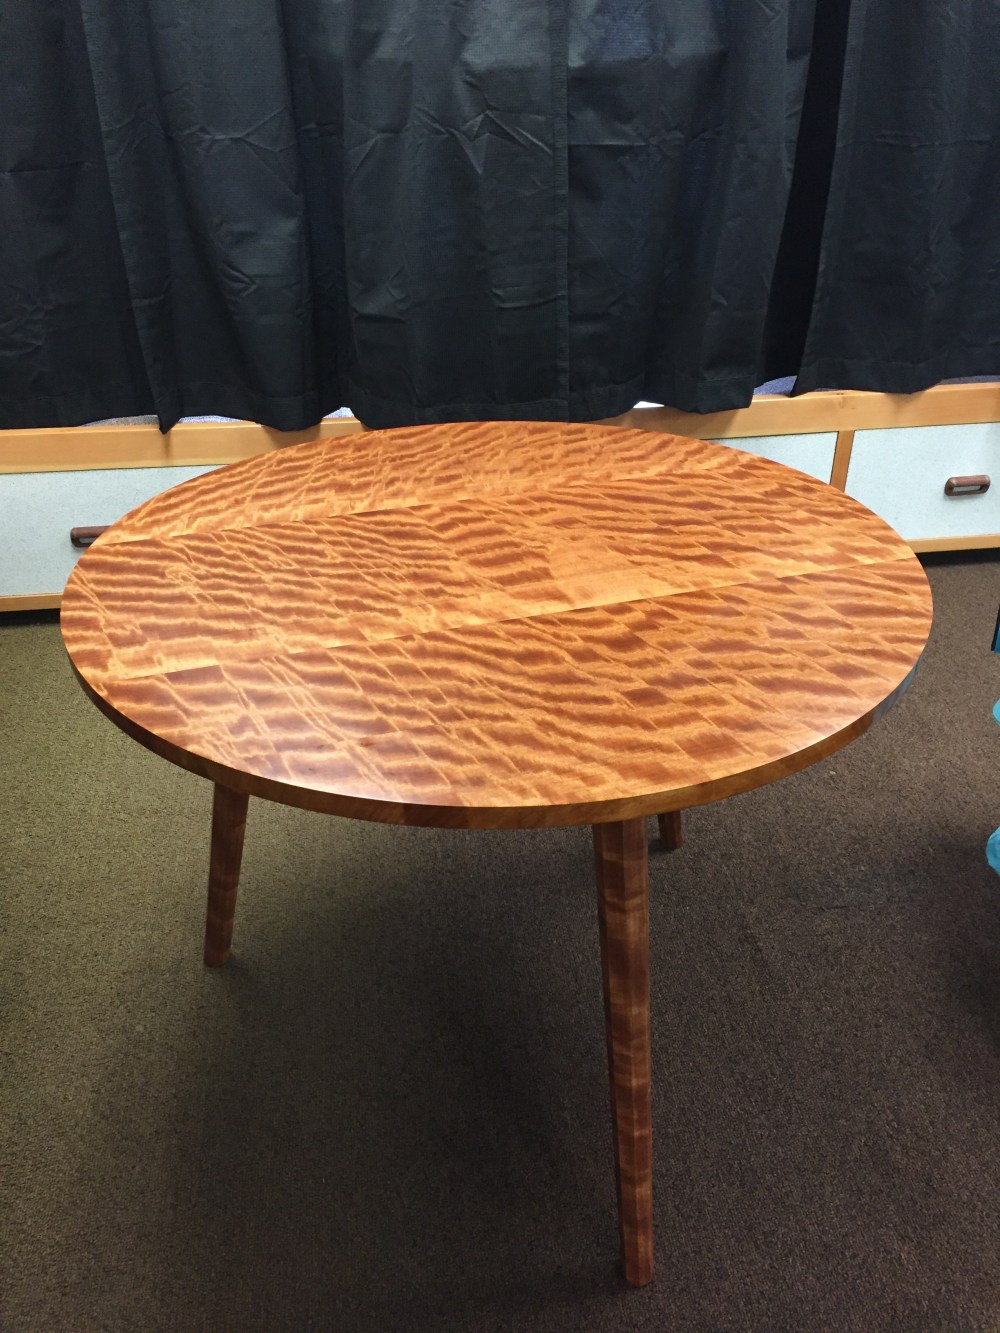

Or maybe it’s just the retired woodworker who’s getting fat. Okay, yes, I can hear all of you groaning that I’m rushing it, but from a maker’s perspective, I’m already behind for the season.
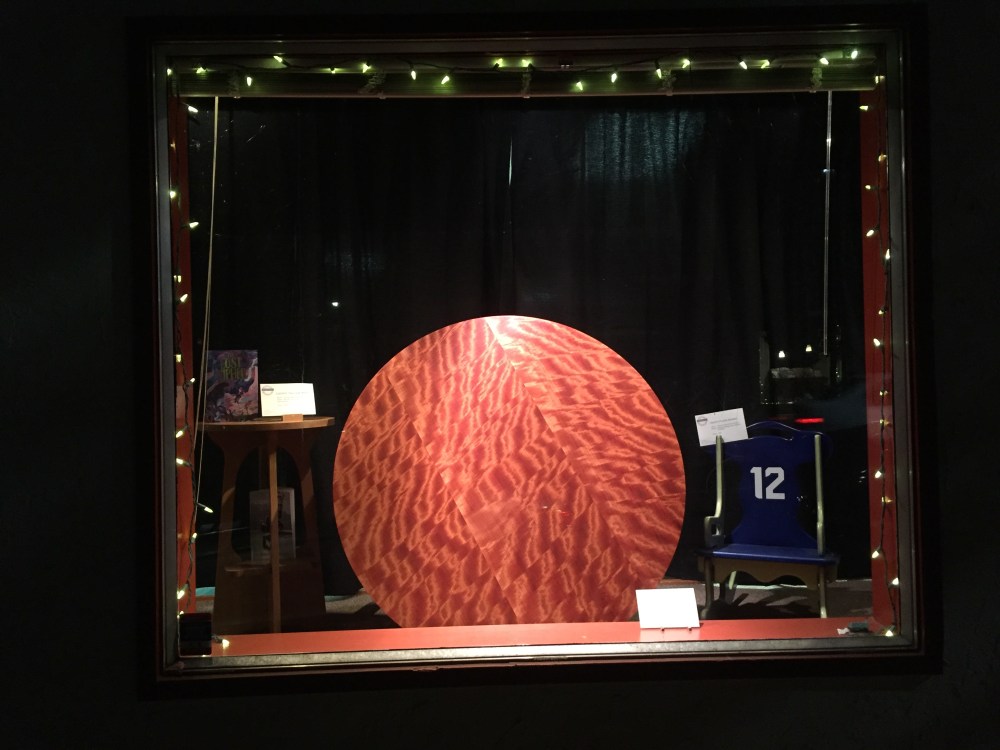
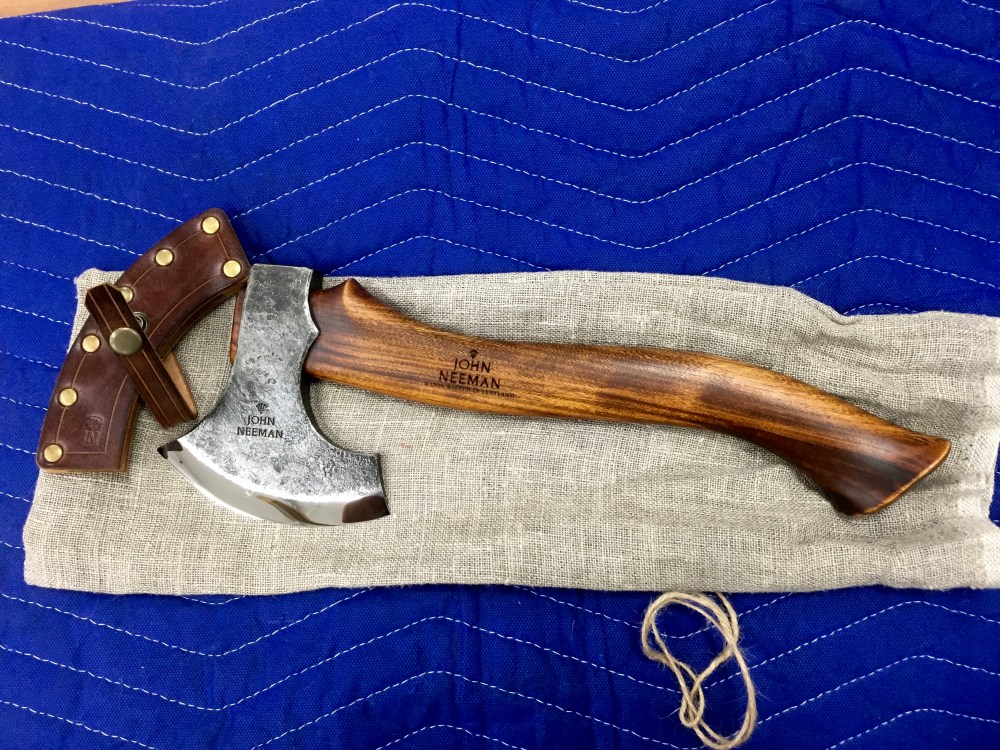
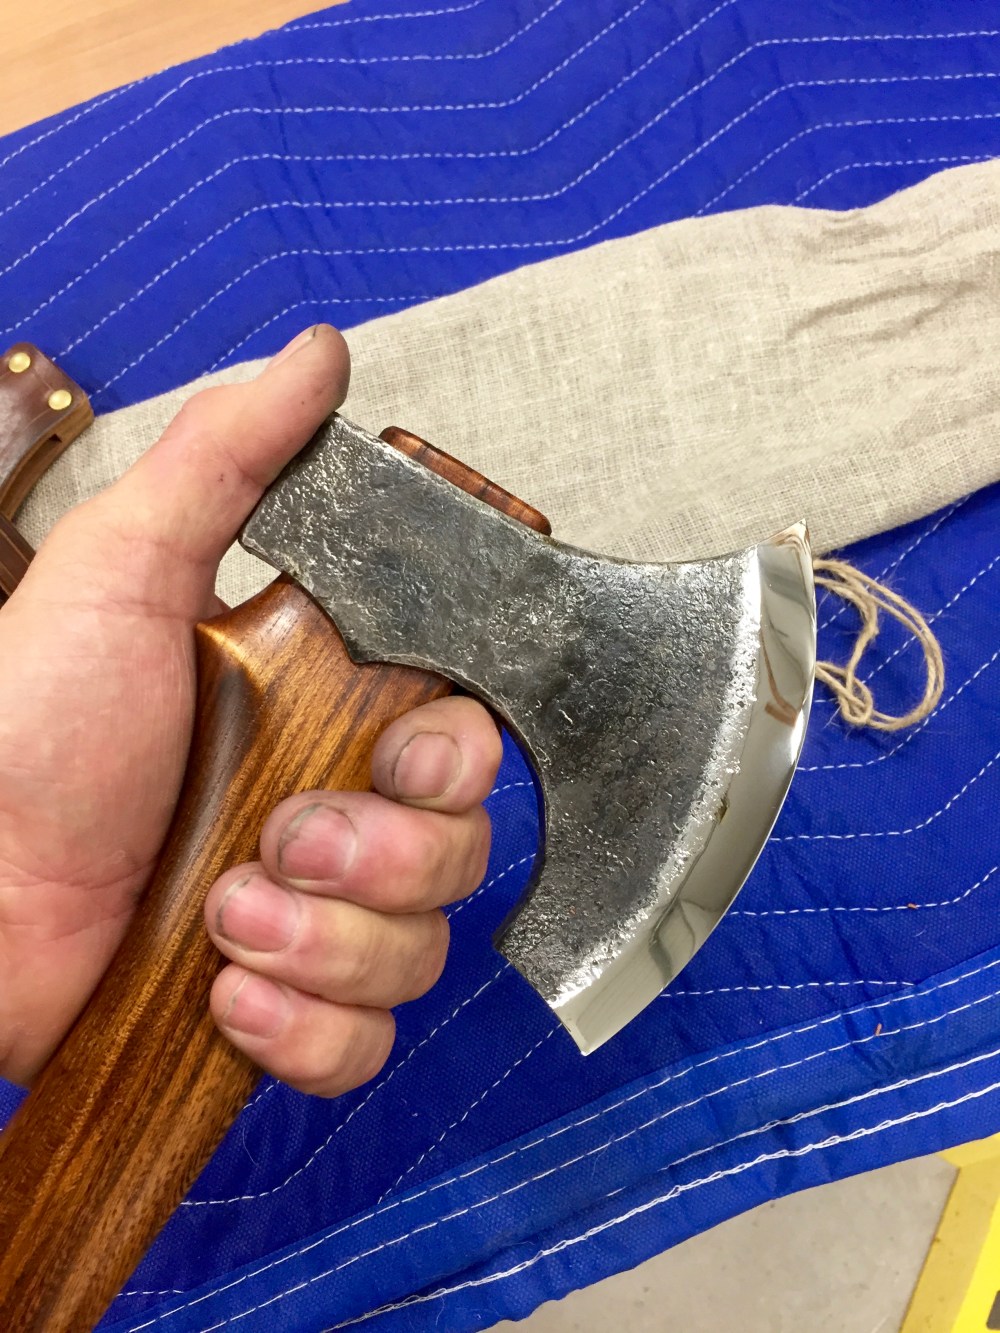
I’ve finished all my ongoing projects, and so before I start anything new, I need to make a few Christmas gifts. The trouble with blogging about gifts is that the folks who would receive my gifts are also my most faithful subscribers. So, in order to preserve any kind of surprise, I can only tease you with generalities until they are actually delivered.
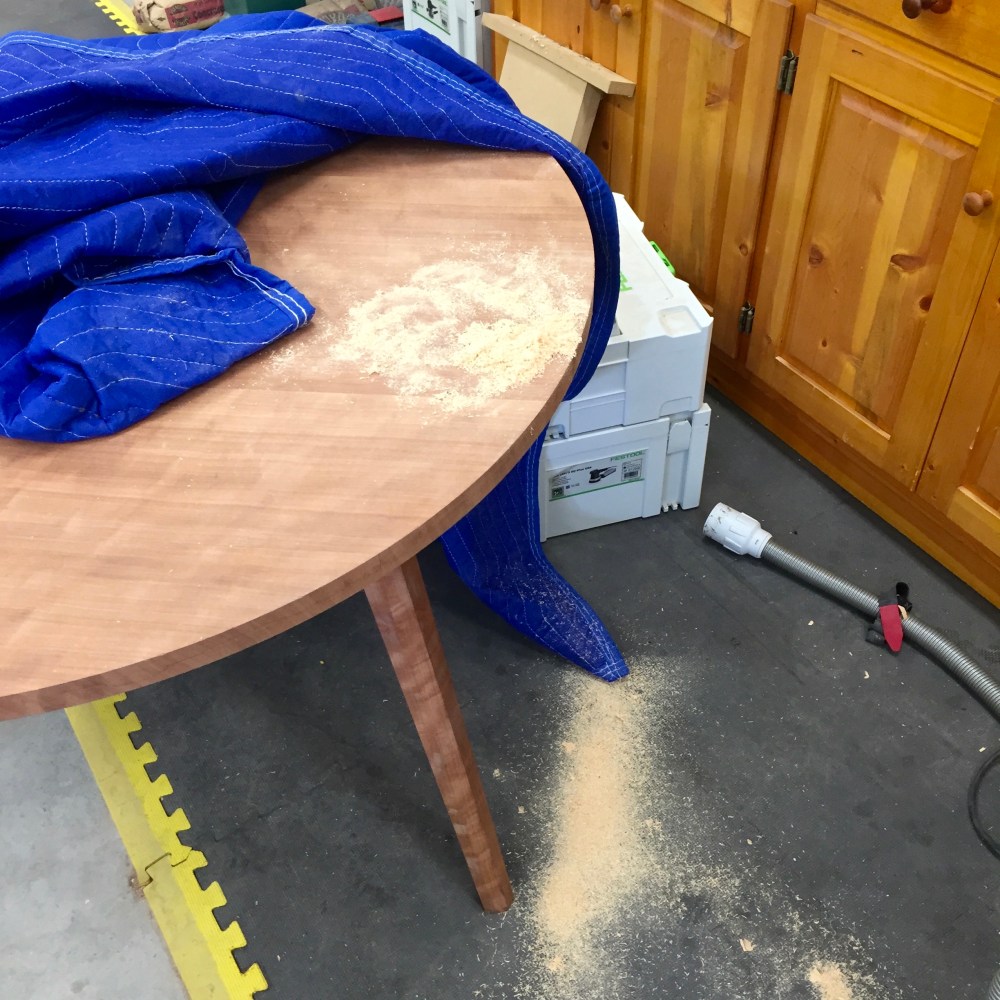
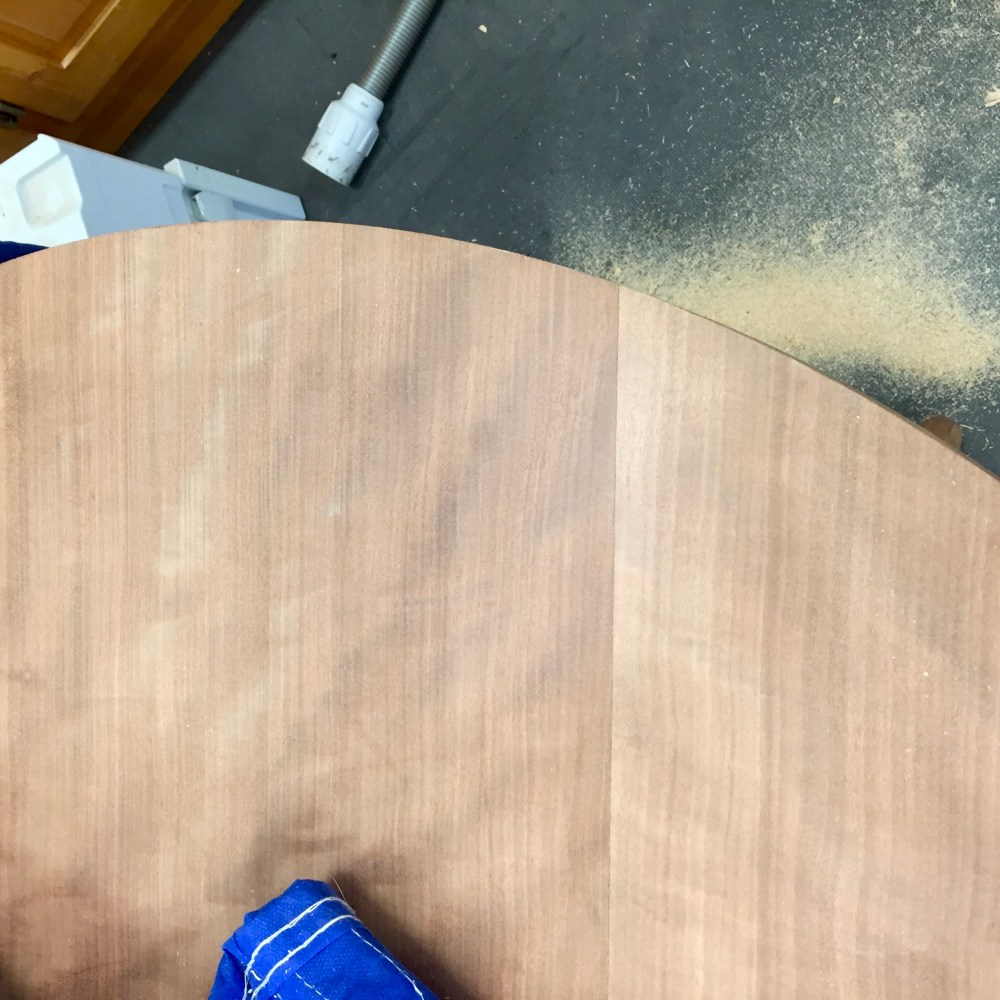
That doesn’t mean that I’m off the hook though, I still have to remember to document the stuff that I’m making so that I can fill in the blanks later. And remembering has never been my strong suit (just ask Kris)(on second thought, please don’t), but it seems to be getting more difficult these days. I guess the trick is to not worry about what you can’t change.
Someone once told me that the three most important things to take care of as you get older, are your eyes, your feet, and your teeth. I guess as a woodworker, I would add also to remember where your fingers are at all times. Wait, this wasn’t what I wanted to write about at all. How did I start wandering? …oh well. 😉
Cheers,
Tom